
You’re in the right place if you’re excited about Apple’s newest product, visionOS 2.1, and can’t wait to try it out. It might seem hard to learn how to install visionOS 2.1, but it’s really not that hard if you follow the right steps. You’ll need to follow some important steps to get this new tool up and running, whether you’re a developer or just want to try it out.
This guide will walk you through the whole process, from making sure your device is compatible to getting the right software. Are you ready for the next big thing in virtual reality to happen on your Apple? So you can enjoy everything visionOS 2.1 has to offer, let’s look at how to install it.
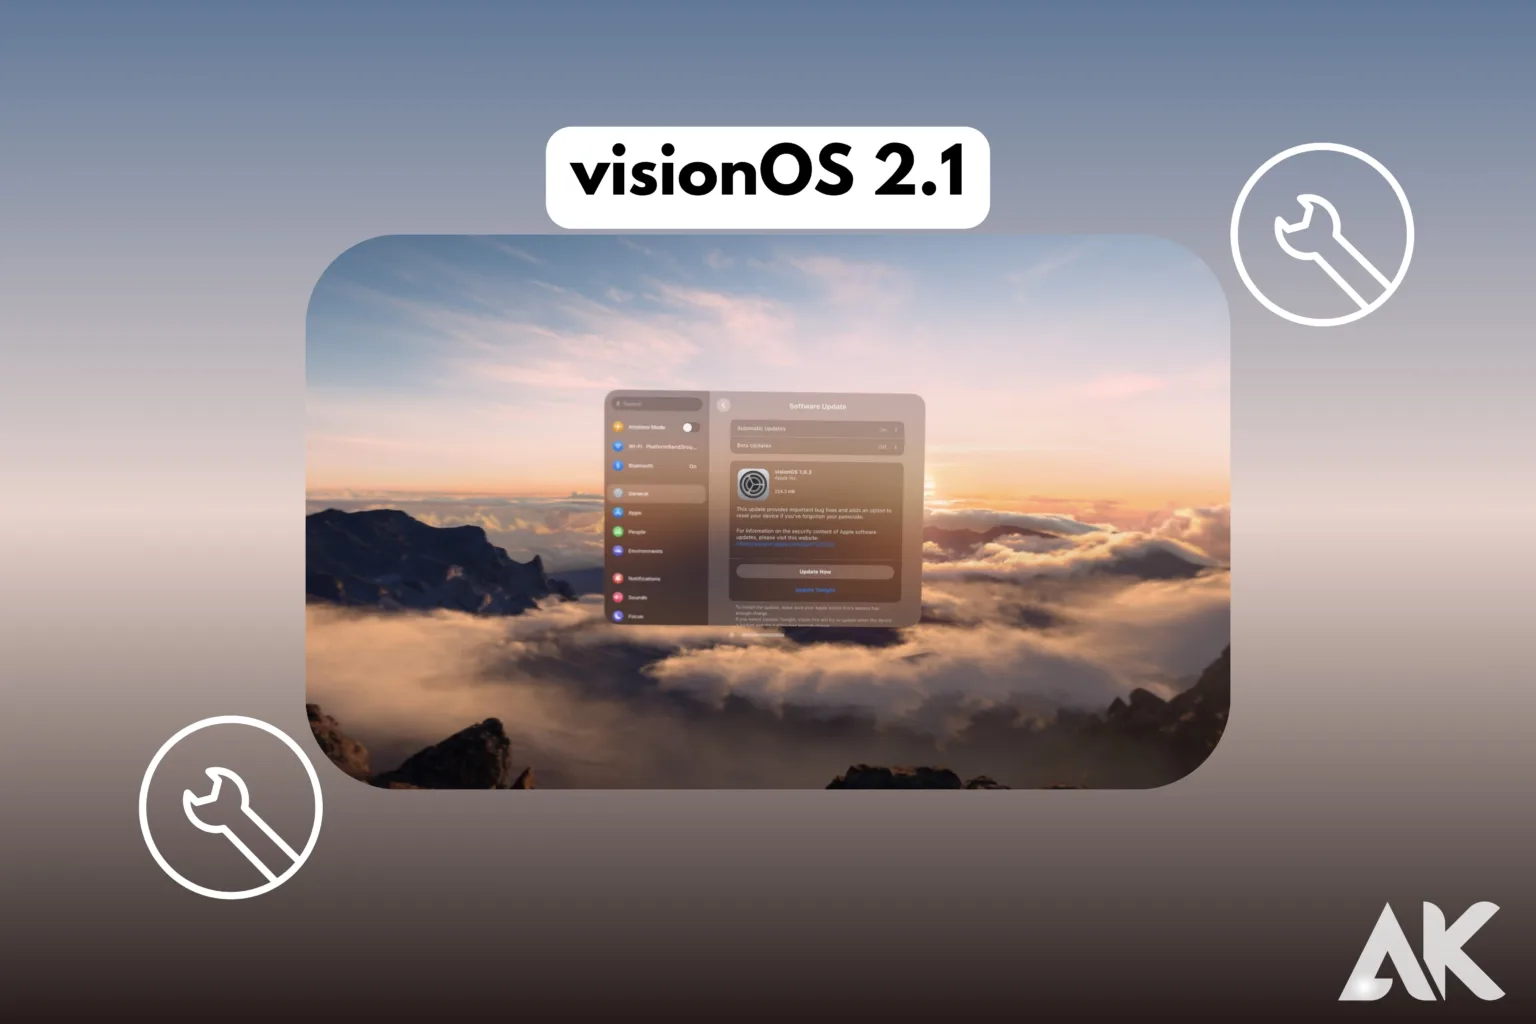
how to install visionOS 2.1
You’re about to get a lot of better features and faster performance on your Apple Vision Pro if you know how to install visionOS 2.1. When you install visionOS 2.1, you get cool new features like better motion controls, better multitasking, and better app experiences.
The first step is to make sure your device is compatible, then back up your info and use the settings to download the update.
If you follow the step-by-step instructions on how to install visionOS 2.1, you’ll quickly be able to use this brand-new version. This installation makes sure that your device has the newest features that Apple has to offer, whether you’re a creator or just a fan.
Step 1: Ensure Compatibility

- Check Compatibility: Ensure your Apple Vision Pro is compatible with the new update before learning how to install visionOS 2.1.
- Backup Data: Always back up your data via iCloud or Finder to avoid data loss during the update.
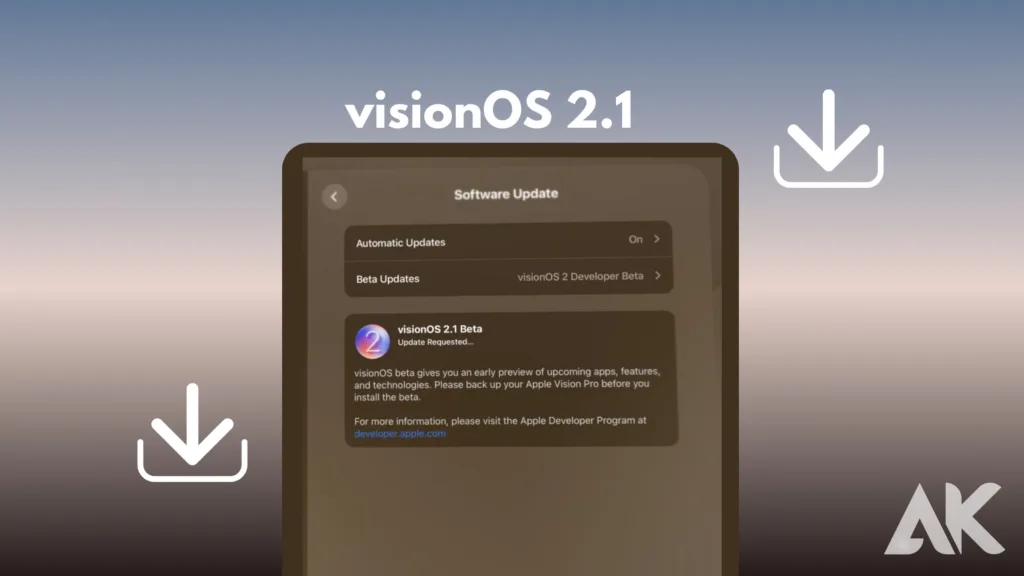
- Enroll in Beta Software Program: If you’re not already enrolled, visit Apple’s Beta Software Program and sign in to gain access to visionOS 2.1.
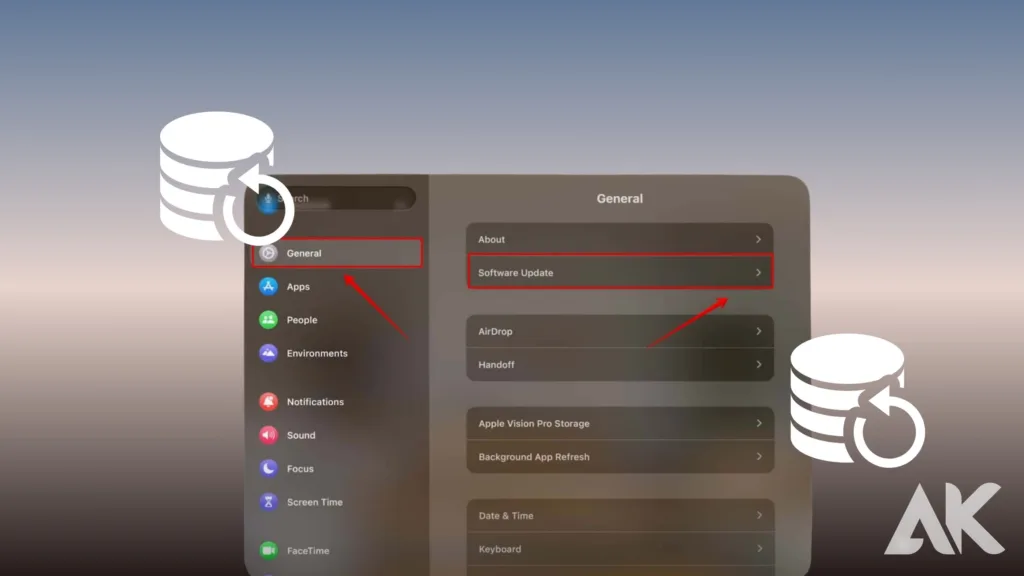
- Download the Update: Go to Settings > General > Software Update on your Vision Pro, and select visionOS 2.1 to download.
- Install the Update: After downloading, click on Install Now to start the installation.
- Post-Installation Setup: Once the device restarts, recalibrate your settings and update any apps for full compatibility with visionOS 2.1.
Step 2: Backup Your Data
- Backup via iCloud: Before starting how to install visionOS 2.1, go to Settings > iCloud > Backup, and tap Back Up Now to secure your data in the cloud.
- Backup via Finder: Alternatively, connect your Apple Vision Pro to a Mac, open Finder, and select Back Up to create a local backup.
- Check Backup Status: Ensure that the backup is complete before proceeding with how to install visionOS 2.1 to avoid losing personal data or settings.
- Regular Backups: It’s recommended to perform regular backups, especially before major updates like visionOS 2.1, as this will safeguard your files in case anything goes wrong during the installation.
Step 3: Enroll in the Apple Beta Software Program (If Necessary)
- Visit the Beta Software Program: To begin how to install visionOS 2.1, head to the Apple Beta Software Program.
- Sign In with Apple ID: Use your Apple ID to log in to the Beta Software Program.
- Agree to Terms: Read and accept the terms and conditions required for beta testing.
- Enroll Your Device: Follow the on-screen instructions to enroll your Apple Vision Pro in the beta program.
- Install Beta Profile: Download and install the visionOS beta profile on your device.
- Restart Your Device: After the beta profile is installed, restart your device to finalize the setup.
- Proceed with Download: Now, you can move forward with how to install visionOS 2.1 by downloading the update via Settings > Software Update.
Step 4: Download visionOS 2.1
- Open Settings: To begin with how to install visionOS 2.1, unlock your Apple Vision Pro and navigate to the Settings app.
- Select General: In the Settings menu, scroll down and tap on General to access system settings.
- Choose Software Update: Next, find and select Software Update to check for available updates.
- Check for visionOS 2.1: The device will automatically search for updates. If visionOS 2.1 is available, it will be displayed on the screen.
- Download the Update: Tap on Download and Install to initiate the update process for how to install visionOS 2.1.
- Connect to Wi-Fi: Ensure you are connected to a Wi-Fi network to download the update efficiently.
- Monitor Download Progress: Wait for the download to complete before moving to the next steps of installation.
Step 5: Install visionOS 2.1
- Begin Installation: After downloading, navigate to the Settings app to continue with how to install visionOS 2.1.
- Tap on Software Update: Select Software Update to find the downloaded update for visionOS 2.1.
- Select Install Now: Once you see the update available, tap on Install Now to initiate the installation process.
- Read Terms and Conditions: Review any terms and conditions that may appear before proceeding with the installation.
- Enter Passcode: If prompted, enter your device passcode to authorize the installation.
- Allow Device to Restart: Your device will restart automatically during the installation. Ensure it remains plugged in to avoid interruptions.
- Complete Setup: Follow on-screen prompts to complete the setup, and start exploring the new features of visionOS 2.1!
Step 6: Post-Installation Setup
- Check for Updates: After installation, go to Settings > General > Software Update to ensure all components are up-to-date in how to install visionOS 2.1.
- Recalibrate Settings: Adjust settings like brightness and display preferences to suit your needs.
- Update Apps: Open the App Store to check for app updates compatible with visionOS 2.1.
- Explore New Features: Familiarize yourself with new features and enhancements introduced in visionOS 2.1, such as improved gesture controls and multitasking.
- Test Device Performance: Open various applications to check how they perform with the new operating system.
- Backup Regularly: Consider setting up regular backups to keep your data safe with future updates.
- Enjoy Your Device: Dive into the new functionalities and enjoy your enhanced Apple Vision Pro experience!
Troubleshooting Installation Issues
- Check Compatibility: If you encounter issues during how to install visionOS 2.1, ensure your Apple Vision Pro is compatible with the update.
- Restart Device: A simple restart can resolve temporary glitches that might hinder the installation process.
- Free Up Storage: Insufficient storage may prevent installation. Check available space under Settings > General > iPhone Storage and delete unnecessary files.
- Stable Internet Connection: Ensure you have a reliable Wi-Fi connection to facilitate the download and installation process smoothly.
- Retry Download: If the update fails, go back to Software Update and try downloading again.
- Update Settings Profile: Ensure your beta profile is properly installed and up-to-date to access visionOS 2.1.
- Contact Support: If problems persist, reach out to Apple Support for additional assistance.
Conclusion: Enjoy Your visionOS 2.1 Experience
In conclusion, how to install visionOS 2.1 is a straightforward process that enhances your Apple Vision Pro experience with exciting new features. By following the steps outlined, including checking compatibility, downloading the update through the Settings app, and ensuring a stable internet connection, you can seamlessly install the latest version. Once the installation is complete, take time to explore the improved functionality and capabilities that visionOS 2.1 offers. With this update, you’ll enjoy a more efficient and user-friendly interface, making your interaction with augmented reality even more enjoyable. Embrace the future of technology with your newly updated device!
FAQS
Q1. What devices are compatible with visionOS 2.1?
A. visionOS 2.1 is designed specifically for the Apple Vision Pro, so ensure your device is the latest model to support the update.
Q2. Do I need to back up my data before installing visionOS 2.1?
A. Yes, it’s recommended to back up your data using iCloud or Finder to prevent any data loss during the installation process.
Q3. What should I do if the installation fails?
A. If the installation fails, ensure you have sufficient storage, a stable internet connection, and retry the download through Settings > Software Update.