
Are you wondering how to set up a VPN on your iPhone 16? The iPhone 16 VPN installation steps may seem confusing at first, but with the right guidance, it’s easier than you think! In this blog post, we’ll walk you through the five essential steps to install a VPN on your iPhone 16, ensuring your online activities are secure and private. Whether you’re new to VPNs or just need a refresher, these simple and effective steps will help you get connected in no time. Let’s dive into the process and unlock the benefits of VPN protection on your iPhone 16!
Why Do You Need a VPN for iPhone 16?
Why do you need a VPN for your iPhone 16? The answer is simple—security, privacy, and access. With the increasing number of cyber threats, using a VPN ensures that your personal data remains protected when browsing the internet.
Whether you’re using public Wi-Fi or accessing sensitive information, a VPN encrypts your connection, making it nearly impossible for hackers to intercept your data. Moreover, a VPN allows you to bypass geographical restrictions, granting you access to content unavailable in your region. By following the iPhone 16 VPN installation steps, you can enjoy a safer online experience while maintaining your privacy.
Setting up a VPN on your iPhone 16 can help prevent tracking, safeguard your browsing habits, and allow you to surf the web without limitations. It’s a simple and effective way to enhance your security, whether you’re browsing, shopping, or streaming content.
Choose the Right VPN Provider

Choosing the right VPN provider is the first and most crucial step in the iPhone 16 VPN installation steps. Not all VPN services are created equal, and selecting the right one can significantly impact your online security and experience.
When evaluating VPN providers, consider factors such as strong encryption methods, a no-logs policy, and fast server connections to ensure both privacy and performance. Look for a VPN that offers a wide range of server locations, as this will help you access geo-restricted content from different regions. It’s also important to check customer support reviews to ensure that assistance is readily available if needed.
Popular VPN providers like ExpressVPN, NordVPN, and Surfshark have proven to be reliable choices, offering excellent performance and security features for your iPhone 16. By taking the time to select the best provider, you can ensure a smooth and secure VPN experience when following the iPhone 16 VPN installation steps.
- Security Features: Look for a VPN that offers strong encryption (e.g., AES-256), a no-logs policy, and additional security protocols such as OpenVPN or WireGuard.
- Server Locations: A VPN with a wide selection of server locations gives you more options to bypass geo-restrictions and maintain speed.
- Speed and Performance: Choose a VPN that offers fast servers for seamless streaming, browsing, and downloading.
- Customer Support: Opt for a VPN provider that offers reliable customer support, especially if you run into issues during setup.
Download the VPN App from the App Store
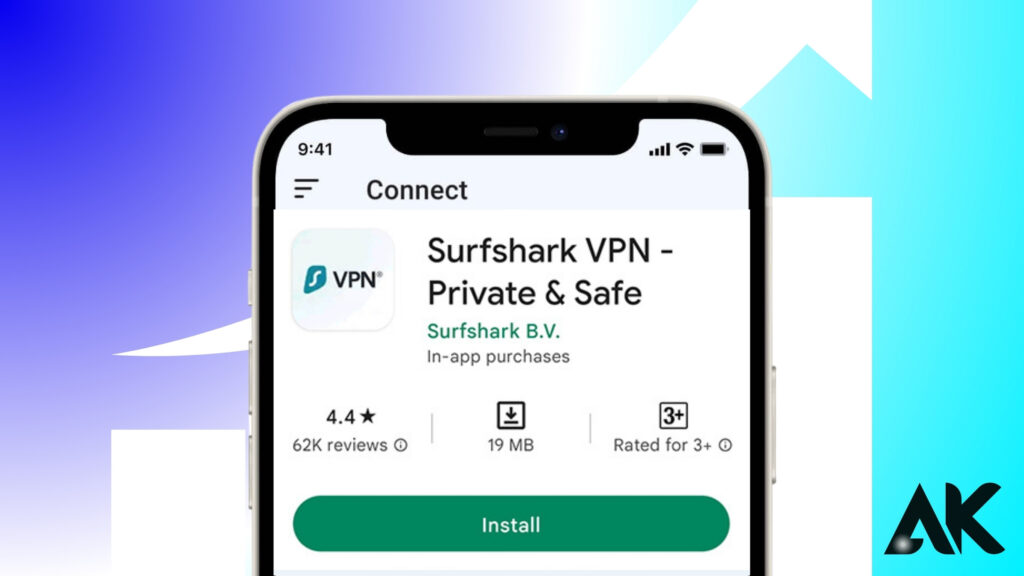
Once you’ve chosen a VPN provider, the next step in the iPhone 16 VPN installation steps is to download the VPN app from the App Store. This is a straightforward process that ensures you’re getting the official and most up-to-date version of the app.
Simply open the App Store on your iPhone 16 and search for the name of your VPN provider. Once you find it, tap the Download button to begin the installation. You may be prompted to enter your Apple ID password or use Face ID to authorize the download.
After the app is installed, it will appear on your home screen, ready to be opened. Downloading the official VPN app guarantees that you’re using a secure, trusted application, free from potential malware or scams. This step is essential for ensuring that the iPhone 16 VPN installation steps are followed correctly for optimal security and privacy.
- Open the App Store: Tap on the App Store icon on your iPhone 16.
- Search for the VPN App: Type in the name of the VPN provider you’ve chosen (e.g., “ExpressVPN” or “NordVPN”) in the search bar.
- Download the App: Once you find the app, tap on the Get button to start the download. You may need to enter your Apple ID password or use Face ID to complete the download.
- Install the App: After the download is complete, the app will automatically install on your iPhone.
Install and Set Up the VPN App
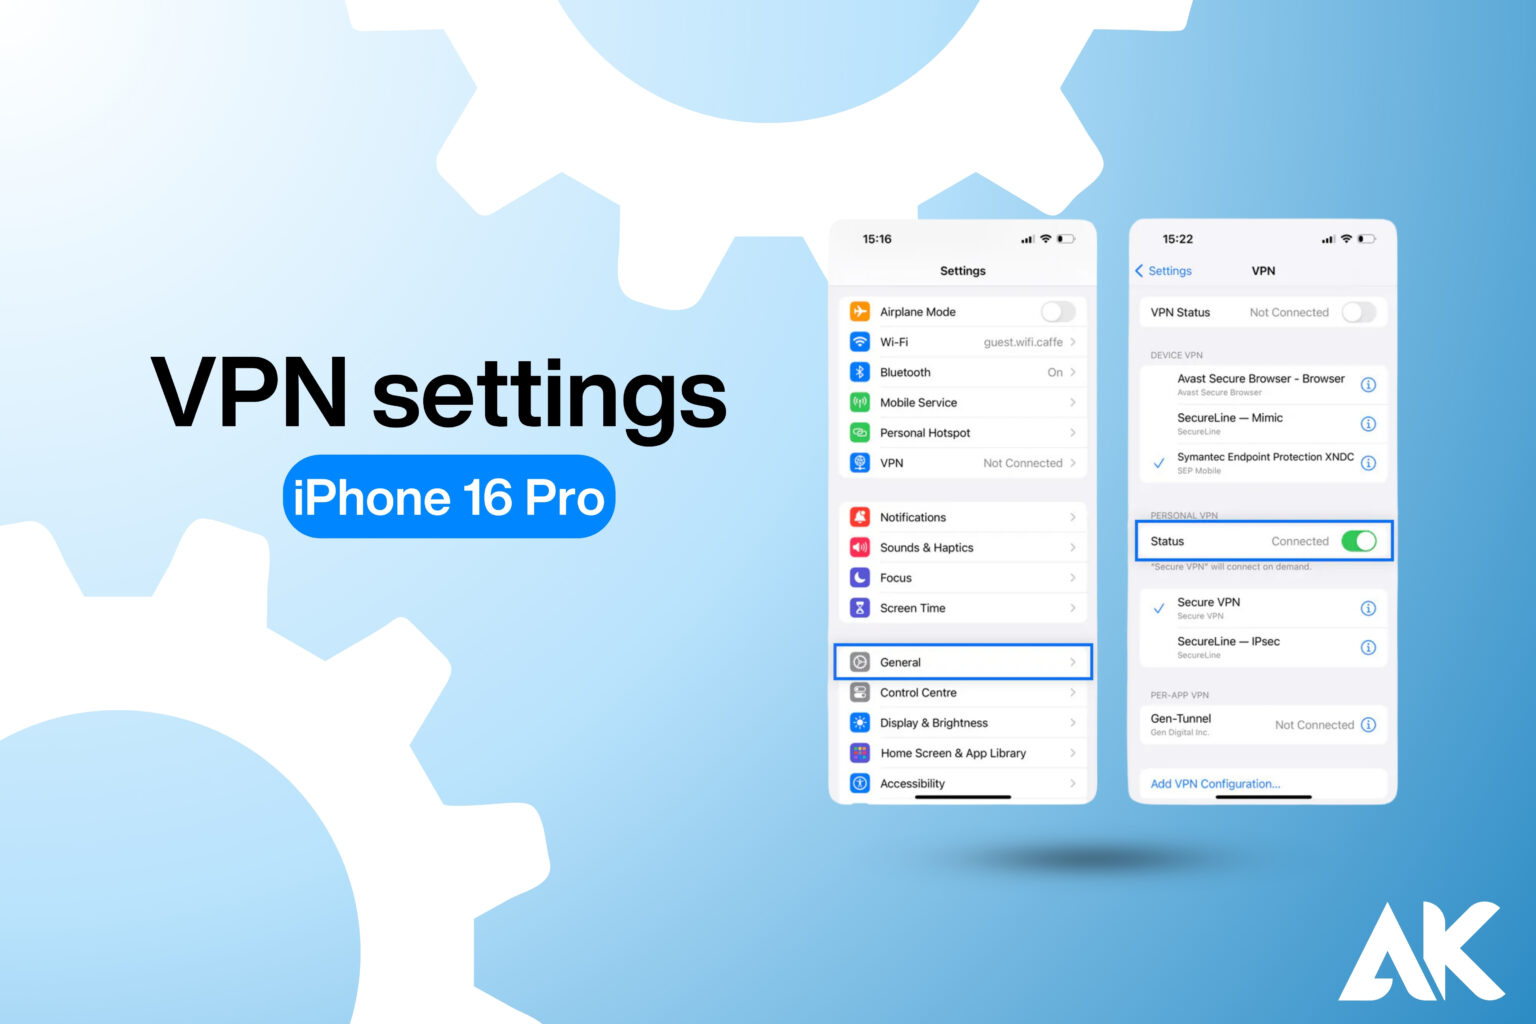
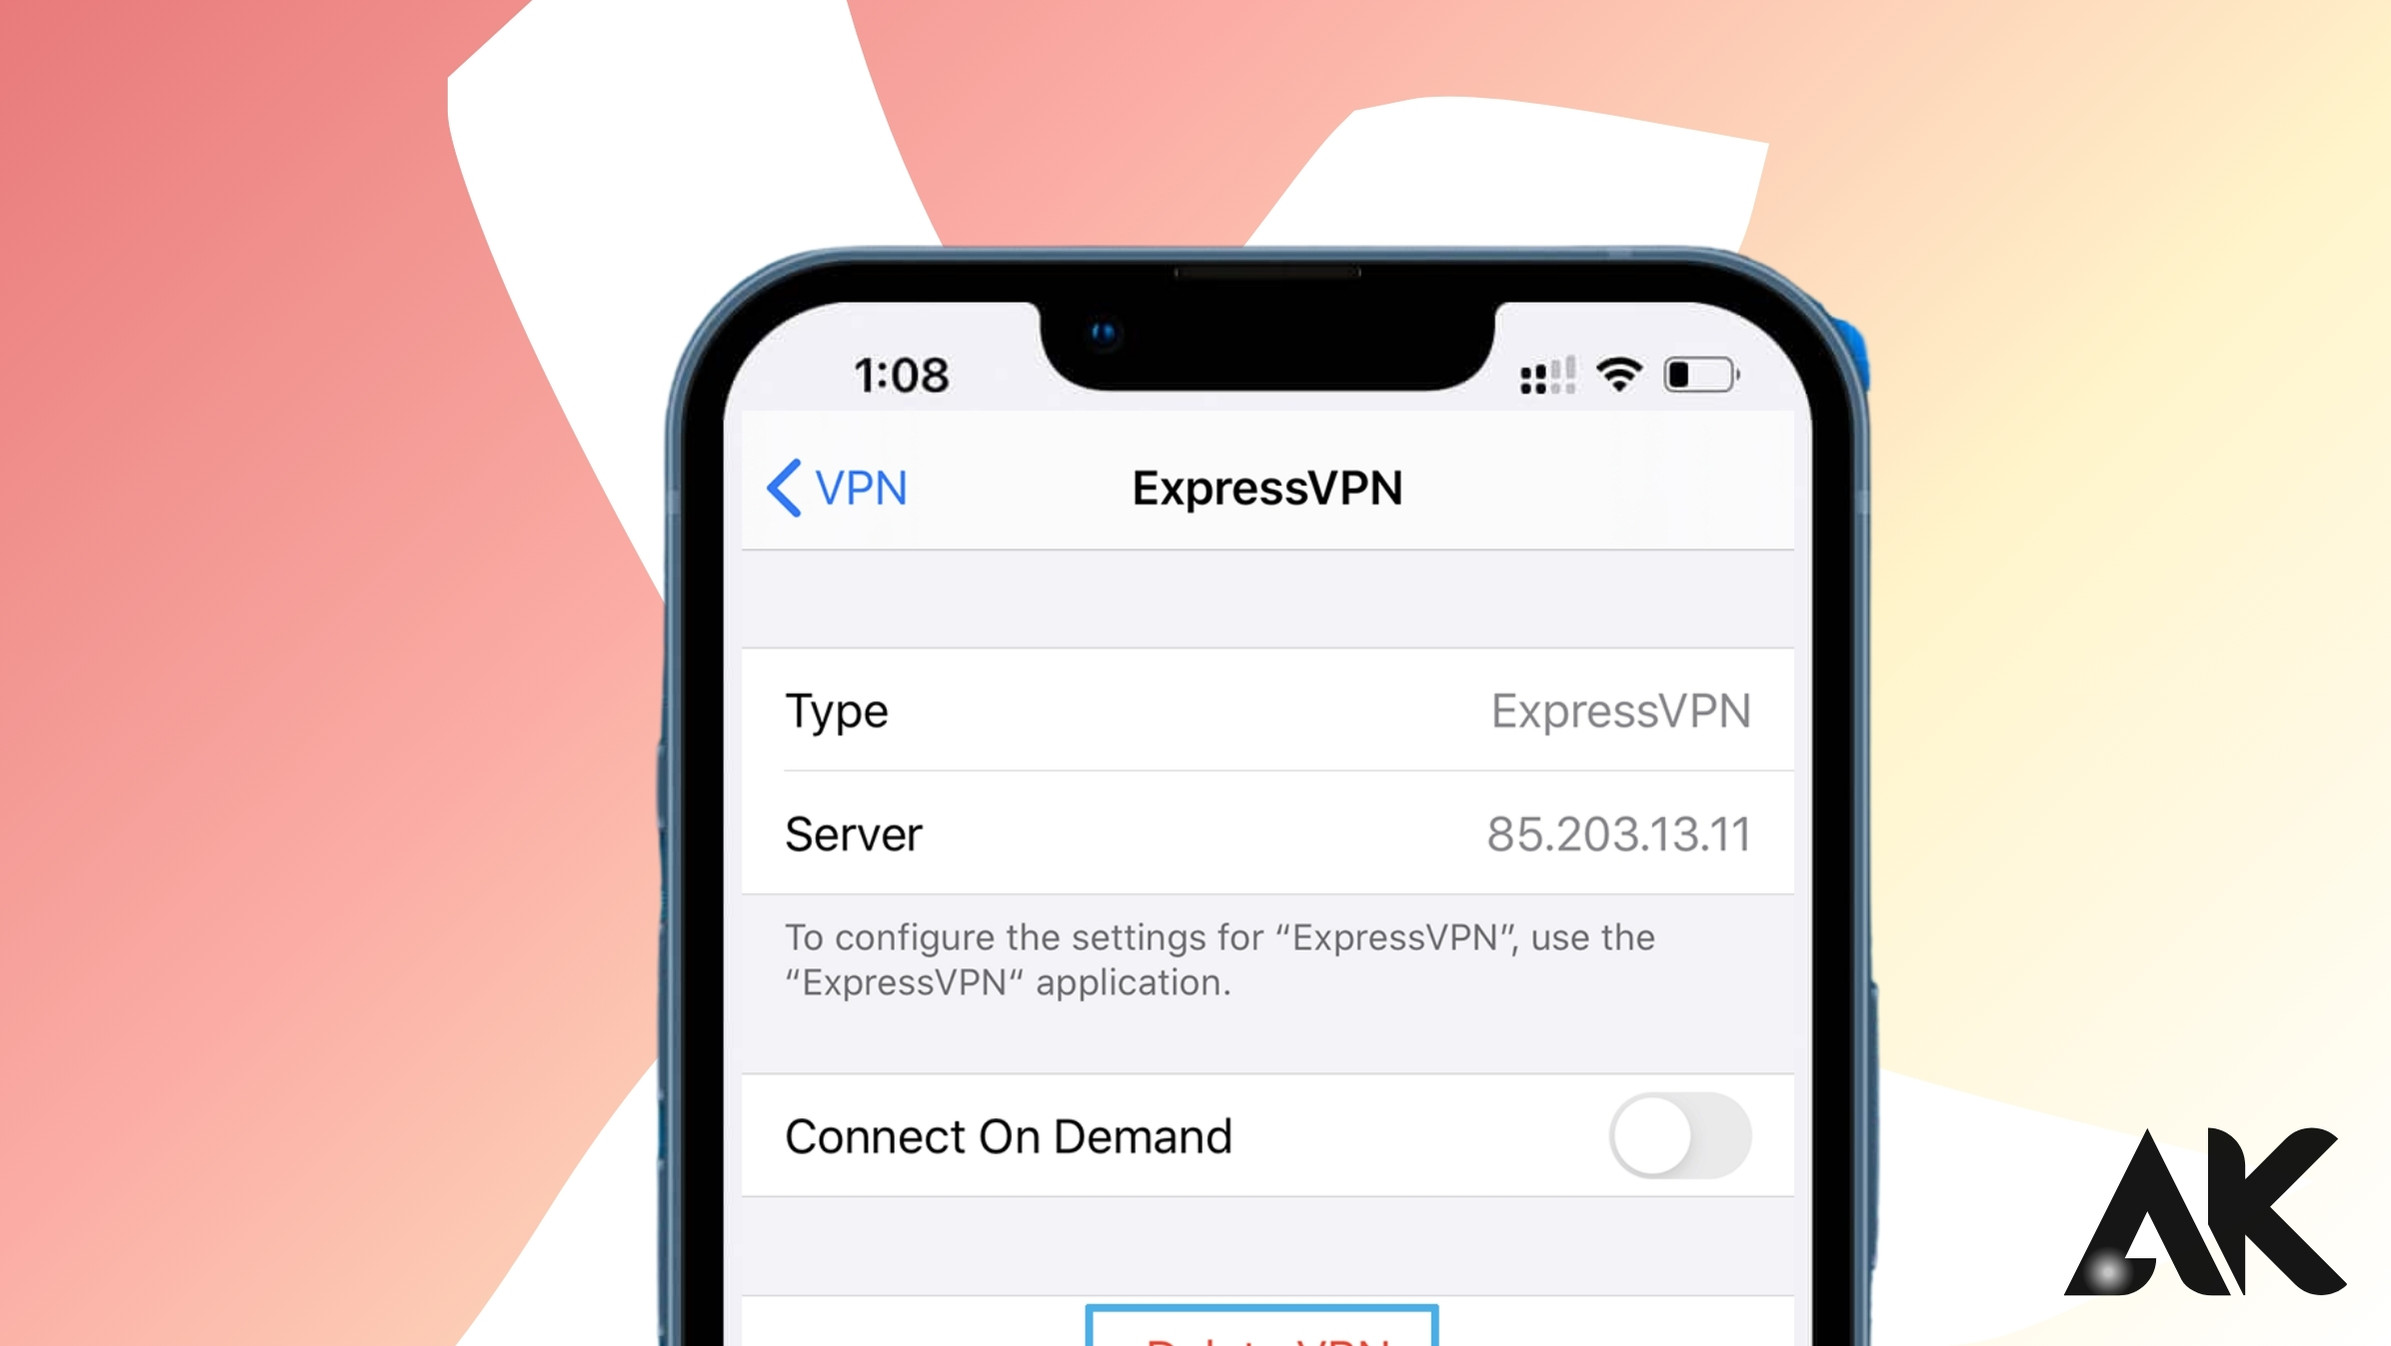
After downloading the VPN app, the next step in the iPhone 16 VPN installation steps is installing and setting it up. This step ensures that your VPN is configured correctly to protect your online activity. Open the app you downloaded from the App Store and sign in using your credentials.
If you’re new to the VPN provider, you’ll need to create an account and select a subscription plan. Once logged in, follow the prompts to allow the app to configure the necessary VPN settings on your device. Your iPhone will ask for permission to add a VPN configuration; simply tap Allow to proceed.
You may also be required to authenticate using Face ID, Touch ID, or your passcode. After this, the app will finalize the setup, ensuring your VPN is ready to use. Completing these iPhone 16 VPN installation steps will set you up for a secure and private internet connection.
- Launch the App: Tap on the app icon to open it.
- Sign In or Create an Account: If you already have an account with your VPN provider, sign in. If you’re a new user, you’ll need to create an account and select a subscription plan.
- Allow Permissions: Most VPN apps will request permission to add VPN configurations to your device. Tap Allow to grant this permission. You might also need to enter your passcode or use Face ID to confirm.
- Set Up VPN Connection: The app will guide you through the setup process. It may prompt you to install a configuration profile or adjust some settings in your iPhone’s settings app. Simply follow the on-screen instructions.
Connect to a VPN Server
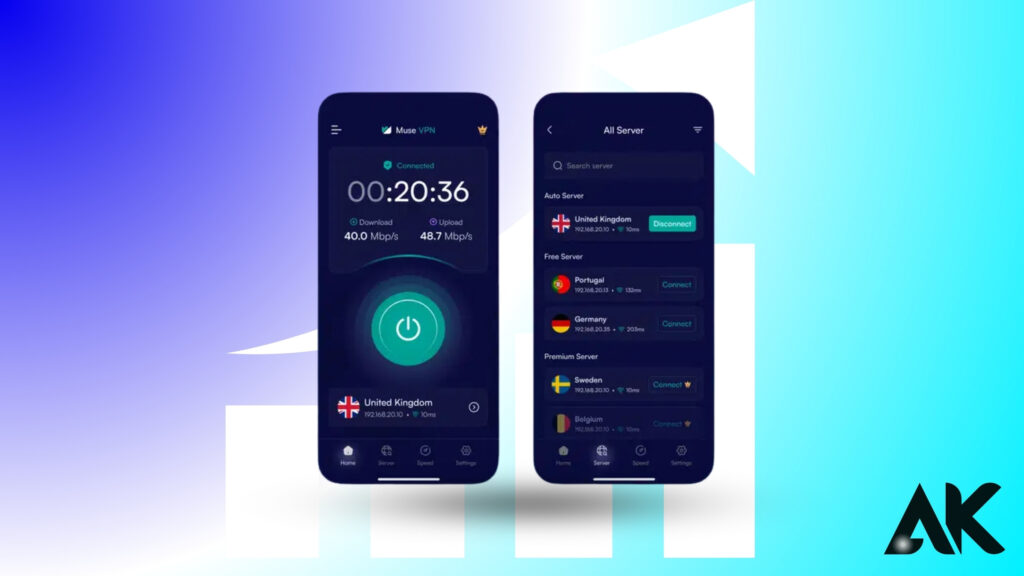
Once you’ve successfully set up your VPN app, the next step in the iPhone 16 VPN installation steps is to connect to a VPN server. This is a crucial part of the process, as it determines your virtual location and ensures that your internet traffic is encrypted. Open your VPN app and choose a server location from the available list.
Most apps will offer a “Quick Connect” feature that automatically connects you to the fastest server based on your location. If you have specific needs, such as accessing content in a particular region, you can manually select a server from a specific country or city.
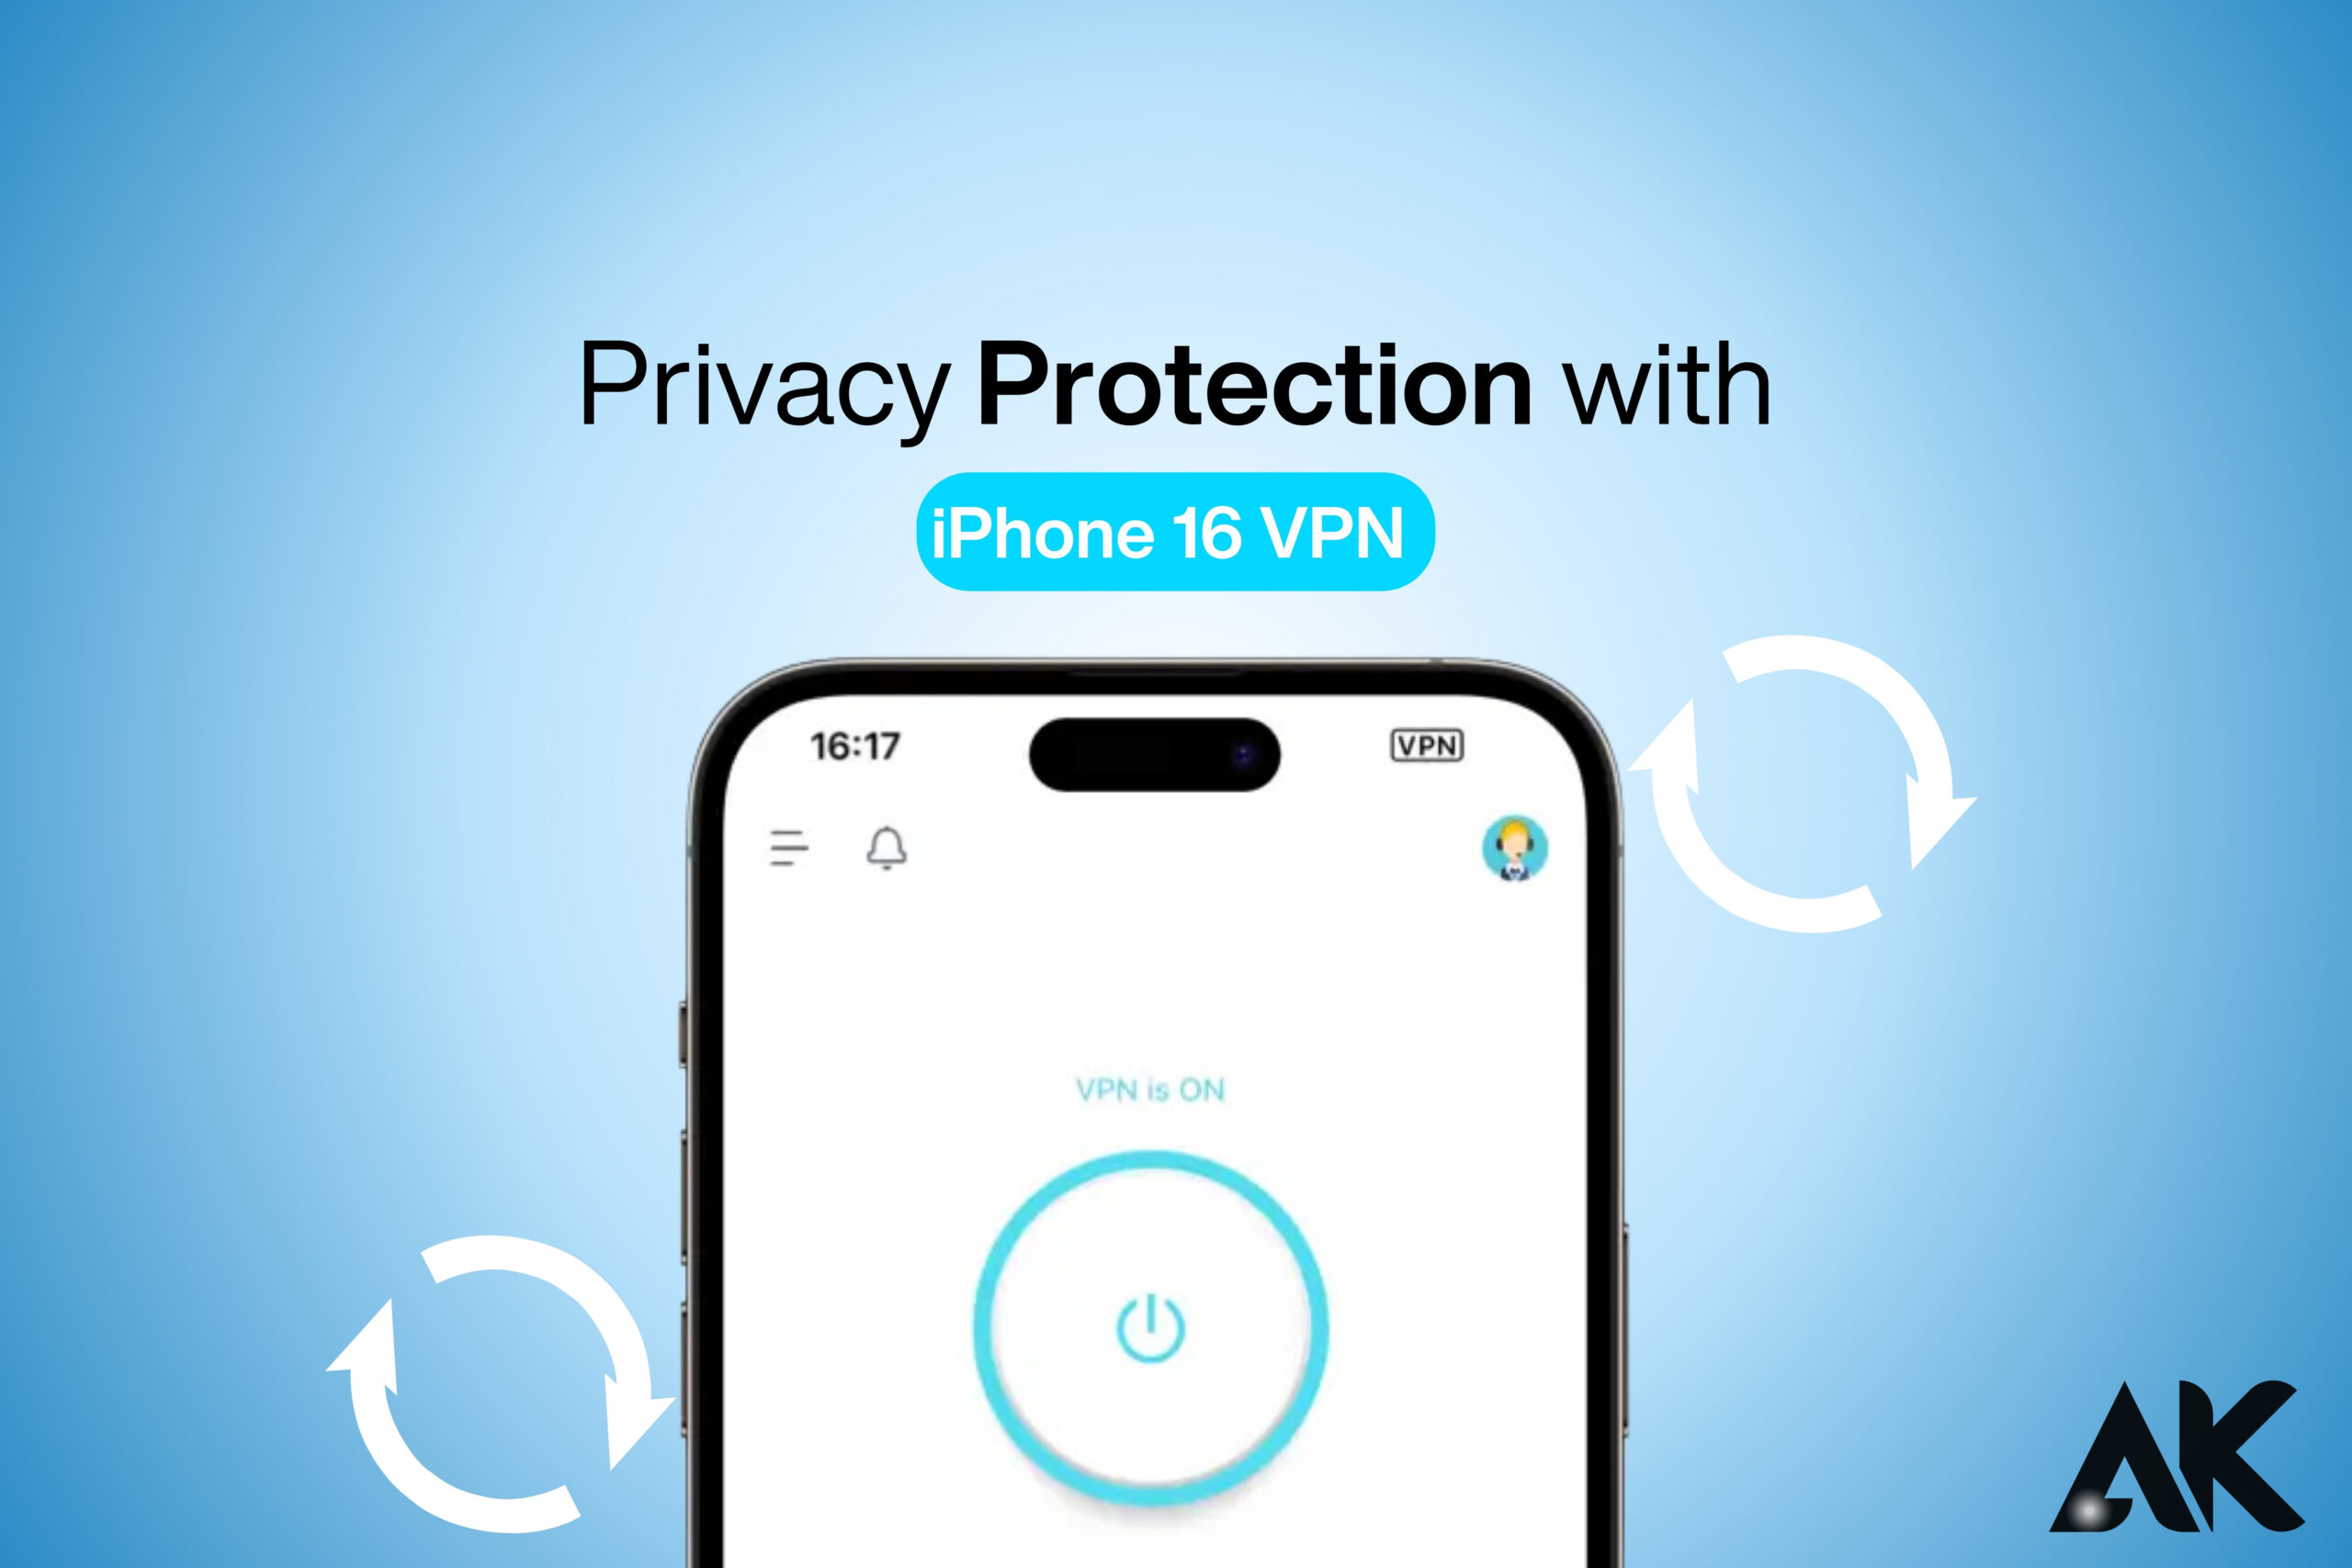
After selecting your preferred server, the app will establish a secure connection, and you’ll see an icon in the top corner of your screen indicating that you’re connected to the VPN. These simple iPhone 16 VPN installation steps will help keep your online activity secure and private.
- Open the VPN App: Launch the app and sign in if necessary.
- Choose a Server: In the app, you’ll see a list of servers from various locations (e.g., the United States, United Kingdom, etc.). Choose the server you want to connect to. The app might recommend a server for you based on your location.
- Connect to the Server: Tap the Connect button to establish a connection. Once connected, the app will show you the status of your connection, and you’ll see a VPN icon appear in the top-left corner of your iPhone’s screen.
Test Your VPN Connection
After completing the iPhone 16 VPN installation steps, it’s crucial to test your VPN connection to ensure it’s working properly. Testing the connection guarantees that your online activities are secure and encrypted. To do this, open a web browser or any app that requires an internet connection.
Try accessing websites or streaming content to see if your VPN is functioning correctly. You should notice faster, more secure browsing, and the VPN icon will appear in the status bar, indicating that you’re connected. If everything is working as expected, you can confidently use the VPN for secure browsing. Following these final iPhone 16 VPN installation steps ensures you get the full benefits of VPN protection on your device.
- Check the VPN Icon: Ensure the VPN icon is visible in the top-left corner of your screen. This indicates that your connection is active.
- Test Your IP Address: You can verify your VPN connection by visiting a website like whatismyipaddress.com. If the website shows a different location than your actual one, your VPN is working.
- Test Streaming or Browsing: Open your favorite streaming app or browse the internet to make sure everything is working smoothly. If you experience slow speeds or other issues, try switching to a different server.
Tips for Optimizing Your iPhone 16 VPN Experience
To get the most out of your VPN, it’s important to follow a few tips for optimizing your experience after completing the iPhone 16 VPN installation steps. First, make sure that the VPN is set to launch automatically when you connect to the internet.
This ensures you’re always protected, even if you forget to manually enable the VPN. Second, choose a VPN server that is geographically closer to you for better speed and performance. Many apps have a “Quick Connect” feature, which automatically picks the fastest server based on your location.
Finally, ensure your VPN app stays updated, as updates often include performance improvements and new security features. By following these tips, you can ensure that your iPhone 16 VPN installation steps lead to a fast, secure, and seamless online experience.
Conclusion
Setting up a VPN on your iPhone 16 may seem daunting at first, but by following these iPhone 16 VPN installation steps, you’ll be able to protect your online privacy and enjoy secure internet browsing with ease. Always remember to choose a reliable VPN provider, download the official app, and follow the setup instructions carefully.
FAQs
1.Why do I need a VPN on my iPhone 16?
A VPN helps protect your privacy, secure your data on public Wi-Fi, and bypass content restrictions.
2.Can I use a free VPN on my iPhone 16?
Yes, but free VPNs may have limitations in terms of security, server locations, and speed.
3.How do I know if my VPN is working on my iPhone 16?
Check for the VPN icon in the top-left corner and verify your IP address on a website like whatismyipaddress.com.