
How to fix VPN issues on Windows 11 Why Does Your VPN Keep Failing on Windows 11? Have you ever tried to connect to your VPN on Windows 11, only to get an error message? It can be frustrating, especially if you need a secure connection for work or privacy.
What’s This Guide About?
VPN issues on Windows 11 are common, but they are also fixable. Whether your VPN won’t connect, drops frequently, or has slow speeds, this guide will help you troubleshoot and resolve the problem.
What Will You Learn?
In this step-by-step guide, you will learn:
- The most common VPN problems on Windows 11
- How to troubleshoot connection failures
- Ways to improve VPN speed and stability
- Solutions for specific VPN error messages
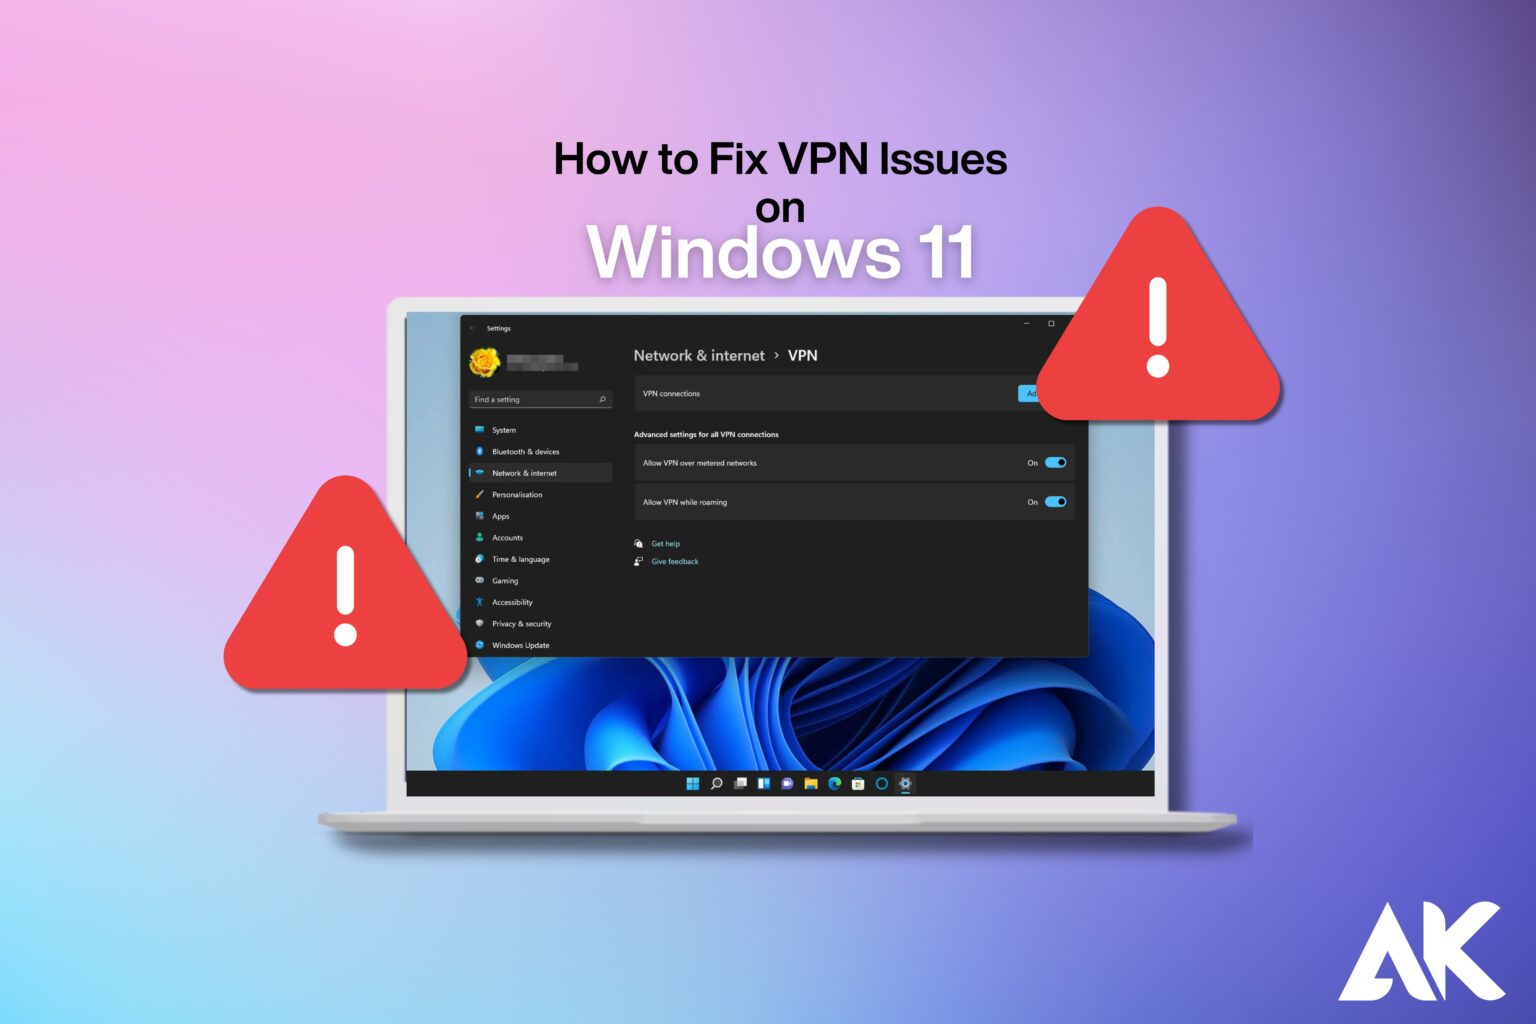
How to fix VPN issues on Windows 11
Basic Troubleshooting Steps

If your VPN isn’t working on Windows 11, follow these simple steps to fix it quickly:
1. Check Your Internet Connection
- Disconnect the VPN and try opening a website.
- Restart your router and modem.
- Switch to another network or mobile hotspot.
2. Restart Your Computer
- A quick reboot can fix temporary VPN issues.
- Close all apps and restart your PC.
3. Verify VPN Login Credentials
- Double-check your username and password.
- Ensure your VPN subscription is active.
4. Switch VPN Servers
- Some servers may be down or overloaded.
- Try connecting to a different location.
5. Update Your VPN App
- Open your VPN and check for updates.
- Install any available updates and restart the app.
6. Disable Firewall or Antivirus Temporarily
- Your firewall or antivirus may block the VPN.
- Turn them off briefly and try reconnecting.
If the problem continues, try advanced fixes like resetting network settings or reinstalling your VPN. 🚀
Common VPN Issues on Windows 11
1. VPN Not Connecting
This happens when your VPN fails to establish a connection. It may be caused by:
- Internet connection issues
- Incorrect VPN settings
- Firewall or antivirus blocking the connection
2. VPN Disconnecting Frequently
If your VPN keeps disconnecting, it might be due to:
- Unstable internet connection
- Power-saving settings disrupting the connection
- VPN server issues
3. Slow VPN Speed
A slow VPN can make browsing frustrating. Possible reasons include:
- Overloaded VPN server
- ISP throttling
- Using a low-quality VPN protocol
Fixing VPN Connection Issues on Windows 11
Check Your Internet Connection
Before troubleshooting your VPN, make sure your internet is working.
Steps to check:
- Open a web browser and try loading a website.
- Restart your router if the internet is slow or unresponsive.
- Try switching between Wi-Fi and Ethernet.
Restart Your VPN Software
Sometimes, a simple restart can fix connection issues.
Steps:
- Close the VPN app completely.
- Reopen the app and try connecting again.
- If the issue persists, restart your computer.
Disable Windows Firewall and Antivirus Temporarily
Windows Defender or third-party antivirus software may block VPN connections.
How to disable temporarily:
- Open Windows Security from the Start menu.
- Click Firewall & network protection → Turn off Firewall.
- Open your VPN and try connecting.
- If it works, add your VPN as an exception in the firewall settings.
Update Your VPN Software
Outdated VPN software may cause connection failures.
How to update:
- Open your VPN app.
- Go to Settings → Check for updates.
- Install any available updates and restart the app.
Checking Windows 11 Firewall and Antivirus Settings
Sometimes, Windows Firewall or antivirus software can block your VPN connection. Follow these steps to check and adjust your settings:
1. Allow VPN Through Windows Firewall
- Open Settings → Privacy & Security → Windows Security.
- Click Firewall & network protection → Allow an app through firewall.
- Find your VPN app and ensure both Private and Public networks are checked.
2. Temporarily Disable Antivirus
- Open your antivirus software.
- Look for the real-time protection option and disable it temporarily.
- Try reconnecting your VPN.
If your VPN works after these steps, add it to your firewall/antivirus exceptions list. ✅
Fixing Frequent VPN Disconnections
Adjust Power Management Settings
Windows 11 may turn off network adapters to save power, causing VPN disconnections.
Steps to fix:
- Press Win + X → Device Manager.
- Expand Network Adapters.
- Right-click your network adapter → Properties.
- Go to Power Management and uncheck Allow the computer to turn off this device to save power.
Change VPN Protocol
Different VPN protocols offer different stability levels.
Steps to switch protocols:
- Open your VPN app.
- Look for Protocol Settings (usually under Advanced Settings).
- Try switching between OpenVPN, IKEv2, or WireGuard to see which works best.
Connect to a Different Server
The VPN server you are using may be overloaded.
How to change servers:
- Open your VPN app.
- Select a different location (preferably closer to your region).
- Try connecting again.
Fixing Slow VPN Speed on Windows 11
| Cause | Solution | How to Fix It |
| Overloaded Server | Switch to a less crowded VPN server | Choose a server closer to your location |
| ISP Throttling | Enable VPN obfuscation or stealth mode | Look for obfuscation settings in VPN settings |
| Weak Wi-Fi Signal | Use a wired Ethernet connection | Connect your device to the router via cable |
Checking Windows Services for VPN Issues
For your VPN to function effectively, a few Windows services need to be operating. To verify and restart them, take the following actions:
1. Open Windows Services
- Press Win + R, type services.msc, and press Enter.
2. Check Essential VPN Services
Look for these services and ensure they are Running:
- Remote Access Connection Manager
- IKE and AuthIP IPsec Keying Modules
- Secure Socket Tunneling Protocol (SSTP) Service
3. Restart the Services
- Right-click each service and select Restart.
- If a service is not running, right-click and choose Start.
After restarting these services, try connecting to your VPN again. 🚀
Humanize 101 words
Fixing Specific VPN Error Messages
Error: “VPN Connection Failed Due to Timeout”
- Restart your VPN app and router.
- Try a different VPN protocol.
- Change your VPN server.
Error: “The VPN Server is Unreachable”
- Check your internet connection.
- Disable firewall/antivirus temporarily.
- Use an alternate VPN server.
Error: “VPN Authentication Failed”
- Verify your username and password.
- Reset VPN credentials if needed.
- Update your VPN software.
Flushing DNS and Resetting Network Settings
Resetting network settings and refreshing the DNS will assist resolve connection problems if your VPN isn’t functioning on Windows 11.
1. Flush DNS Cache
- Open Command Prompt as Administrator.
- Type: ipconfig /flushdns and press Enter.
- Restart your computer and try reconnecting to the VPN.
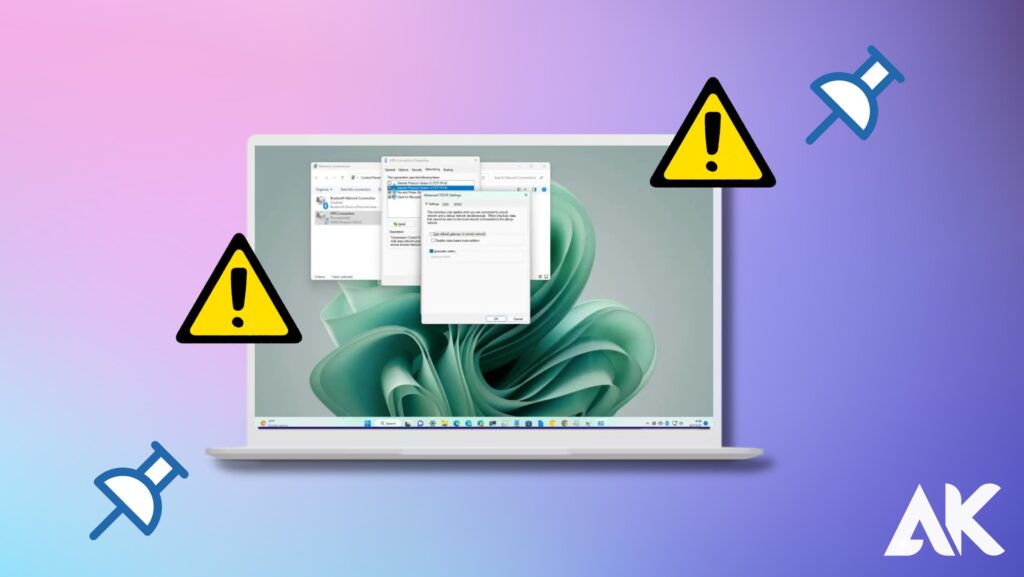
2. Reset Network Settings
- Go to Settings → Network & Internet → Advanced network settings.
- Click Network reset → Reset now.
- Restart your PC and reconnect your VPN.
These steps can resolve hidden network issues affecting your VPN. ✅
Select 16 more words to run Humanizer.
Checking Windows Services for VPN Issues
Certain Windows services must be running for your VPN to function correctly. Follow these steps to check and restart them:
1. Open Windows Services
- Press Win + R, type services.msc, and press Enter.
2. Check and Restart VPN-Related Services
Look for these services and ensure they are Running:
- Remote Access Connection Manager
- IKE and AuthIP IPsec Keying Modules
- Secure Socket Tunneling Protocol (SSTP) Service
- Right-click each service and select Restart.
- If a service is stopped, right-click and choose Start.
Try reconnecting your VPN after restarting these services.
Updating Windows 11 and Network Drivers
VPN problems may arise from outdated Windows or network drivers. Compatibility issues can be fixed by updating them.
1. Update Windows 11
- Go to Settings → Windows Update.
- Click Check for updates and install any available updates.
2. Update Network Drivers
- Press Win + X and select Device Manager.
- Expand Network adapters and right-click your VPN or Wi-Fi adapter.
- Click Update driver → Search automatically for drivers.
- Restart your PC after updating.
These updates help fix bugs and improve VPN performance.
Switching to a Different VPN Protocol
If your VPN isn’t connecting, changing the protocol might help.
1. Open VPN Settings
- Launch your VPN app and go to Settings or Preferences.
2. Select a Different Protocol
Most VPNs offer multiple protocols. Try switching to:
- OpenVPN (UDP/TCP) – Best for security and speed.
- IKEv2/IPSec – Stable and good for mobile devices.
- WireGuard – Fast and modern.
After changing the protocol, reconnect to your VPN and check if it works. ✅
Conclusion
Although Windows 11 VPN difficulties can be annoying, most of them can be resolved with easy troubleshooting techniques. You can rapidly restore your secure connection by using these techniques, which include monitoring your internet connection, modifying firewall settings, and switching VPN servers. Try contacting your VPN provider for more help if none of these solutions resolve the issue. Enjoy your VPN experience and stay safe! 🚀
FAQs
Why does my Windows 11 VPN keep disconnecting?
Weak internet, power-saving settings, or an overloaded VPN server can cause your VPN to disconnect. Try changing servers and modifying network settings.
How can I reset my Windows 11 VPN?
After choosing your VPN, click Remove after going to Settings → Network & Internet → VPN. The VPN app is then reinstalled.
Is a VPN included into Windows 11?
Yes, Windows 11 comes with a built-in VPN client, but you will need to use a VPN service to manually configure it.
Can my VPN be blocked by a firewall?
Yes, VPN connections can be blocked by third-party antivirus software or Windows Firewall. Turn them off for a while to see if the VPN starts up.
What is the best VPN protocol for Windows 11?
WireGuard and IKEv2 provide a decent trade-off between security and speed. Although it can be slower, OpenVPN is likewise dependable.
.