
Wondering how to remove VPN from Windows 10? The short answer: it’s easier than you think! Whether your VPN is causing slow internet speeds, network issues, or you simply don’t need it anymore, removing it properly ensures a smooth experience. In this guide, we’ll walk you through five effortless steps to disconnect, uninstall, and completely remove VPN configurations from your Windows 10 system. Follow along, and you’ll have your PC back to normal in no time!
Why You Might Want to Remove a VPN from Windows 10

Before jumping into the steps, let’s look at some common reasons why users decide to remove a VPN:
- Slow Internet Speeds – Some VPNs throttle your bandwidth, causing slower connections.
- Network Connectivity Issues – VPNs may interfere with local network access or specific websites.
- Unwanted VPN Software – You might have installed a VPN temporarily and no longer need it.
- Security Risks – Free or outdated VPN services can be risky, exposing your data instead of protecting it.
Now, let’s dive into the removal process.
Disconnect the VPN Connection

Before uninstalling anything, the first step in how to remove VPN from Windows 10 is to disconnect the VPN connection. This ensures that your system is no longer routing traffic through the VPN server, preventing any potential connectivity issues. To do this, go to Settings > Network & Internet > VPN, find the active VPN connection, and click Disconnect.
If you were using a third-party VPN app, open the app and turn off the connection. Once disconnected, your internet should return to normal, allowing you to How to remove VPN from Windows 10 proceed with removing the VPN completely from your system without any interruptions.
How to Disconnect a VPN in Windows 10:
- Click on the Start menu and select Settings (gear icon).
- Go to Network & Internet > VPN.
- Find your active VPN connection and click on it.
- Click Disconnect to stop using the VPN.
Once disconnected, you can proceed with the next step.
Remove VPN Configuration from Windows Settings
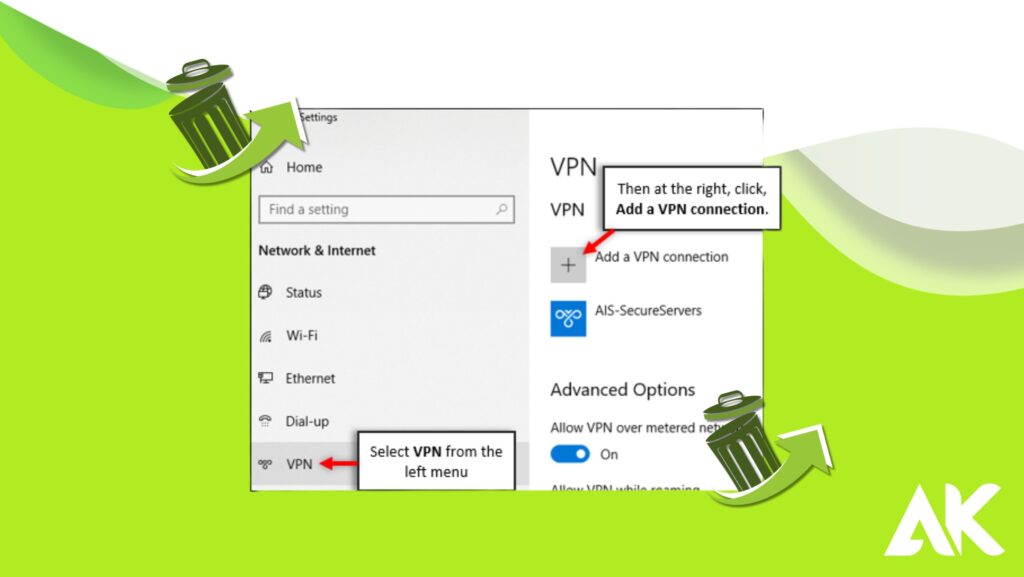
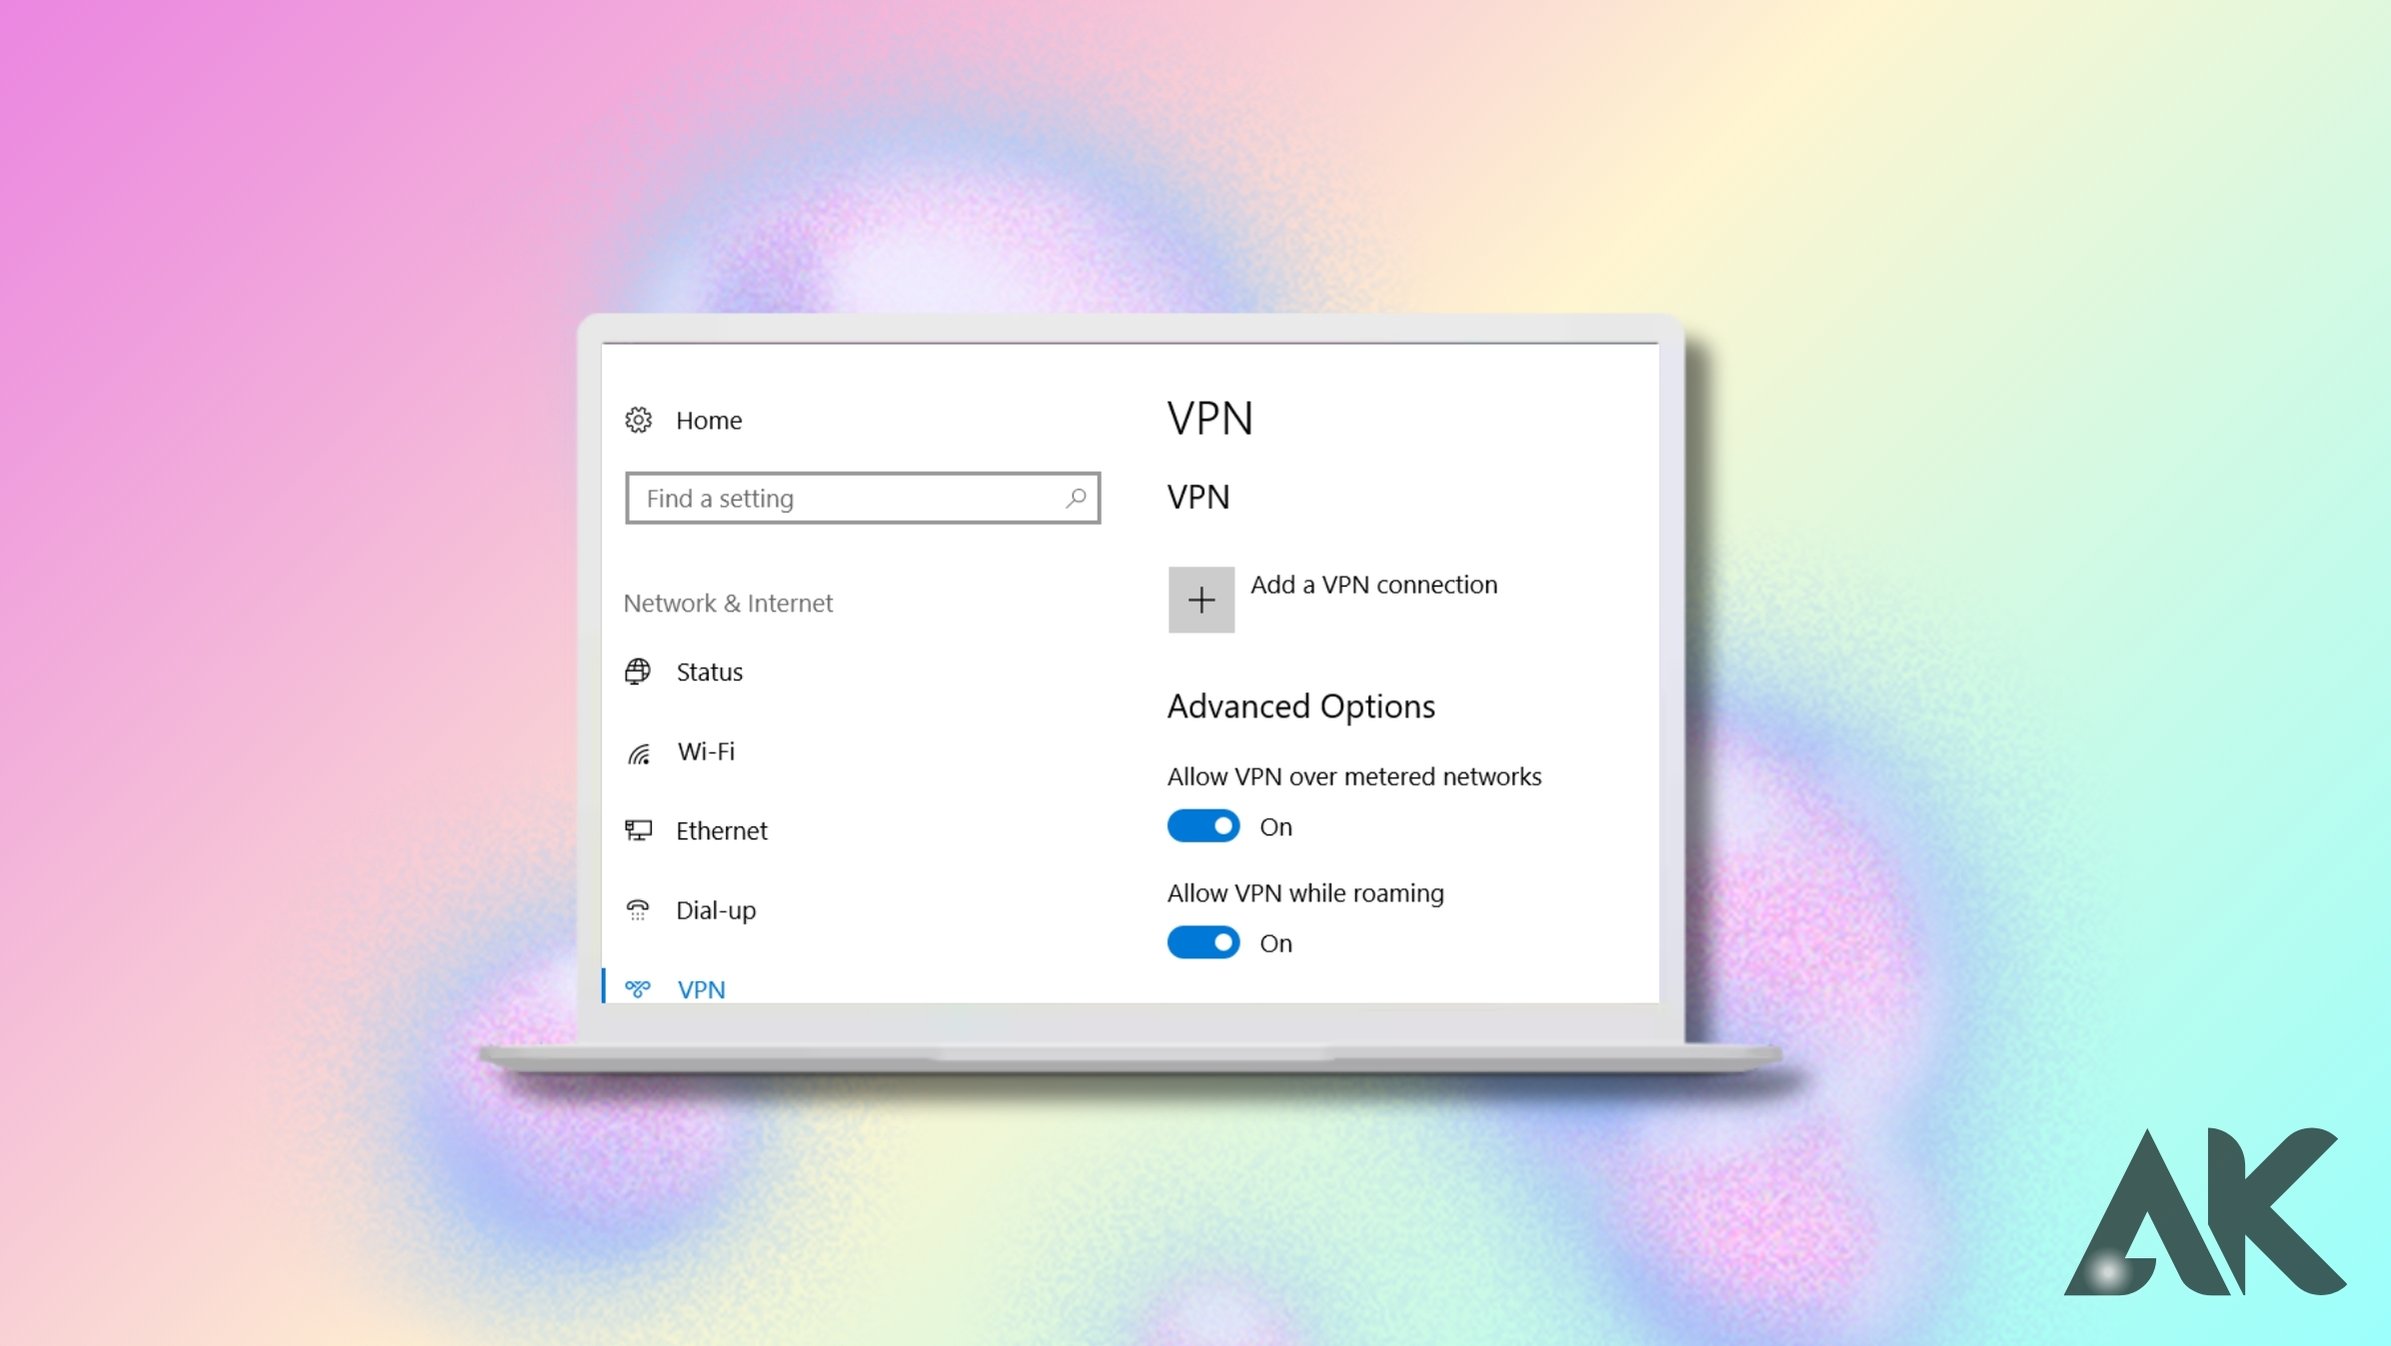
The next step in how to remove VPN from Windows 10 is to delete the VPN configuration from your system settings. Even after disconnecting, the VPN profile may still be saved on your computer. To remove it, go to Settings > Network & Internet > VPN, locate the How to remove VPN from Windows 10 you want to delete, and click Remove.
This ensures that Windows no longer tries to connect to the VPN automatically. If you set up the VPN manually, this step is crucial for a complete removal. Now, How to remove VPN from Windows 10 system will no longer recognize the VPN connection, allowing you to move forward smoothly.
How to Remove VPN from Windows 10 via Settings:
- Open Settings using the Windows + I shortcut.
- Navigate to Network & Internet > VPN.
- Locate the VPN you want to remove.
- Click on it and select Remove.
This deletes the VPN connection, but the software may still be installed. Let’s remove that next.
Uninstall VPN Software from Your PC
Another crucial step in how to remove VPN from Windows 10 is uninstalling the VPN software from your PC. Even after disconnecting and removing the VPN profile, the application may still be installed, taking up space and potentially interfering with your network.
To uninstall it, go to Control Panel > Programs & Features (or Apps & Features in Settings), find your VPN application, and click Uninstall. Follow the on-screen instructions to complete the removal. This step ensures that the VPN software is no longer running in the background, allowing your system to function without any VPN-related restrictions or conflicts.
How to Uninstall a VPN from Windows 10:
- Open the Control Panel by typing it in the search bar.
- Click on Programs & Features or Apps & Features.
- Find your VPN application in the list.
- Click Uninstall and follow the on-screen instructions.
Now, the VPN software is removed from your PC, but some leftover files might remain.
Delete VPN Network Adapters
A key step in how to remove VPN from Windows 10 is deleting VPN network adapters. Even after uninstalling the VPN software, some adapters remain, causing network conflicts. To remove them, open Device Manager by pressing Windows + X and selecting it from the menu.
Expand Network Adapters and look for any VPN-related adapters, such as “TAP-Windows Adapter V9.” Right-click on the adapter and select Uninstall Device to remove it completely. Restart your computer to apply the changes. This ensures that your network runs smoothly How to remove VPN from Windows 10 without any leftover VPN configurations interfering with your internet connection.
How to Remove VPN Network Adapters:
- Press Windows + X and select Device Manager.
- Expand the Network Adapters section.
- Look for any adapters related to your VPN (e.g., “TAP-Windows Adapter V9”).
- Right-click the adapter and select Uninstall Device.
- Restart your computer to apply the changes.
This ensures your VPN is completely removed from the system.
Clear VPN Registry Entries (Optional, Advanced Users Only)
For advanced users, clearing registry entries is the final step in how to remove VPN from Windows 10 completely. Even after uninstalling the VPN and deleting network adapters, some leftover registry files may remain. To remove them, press Windows + R, type regedit, and hit Enter. Navigate to:
HKEY_LOCAL_MACHINE\SYSTEM\CurrentControlSet\Services\HKEY_LOCAL_MACHINE\SOFTWARE\Microsoft\Windows\CurrentVersion\Uninstall\
Look for VPN-related entries, right-click, and delete them carefully. Be cautious—modifying the registry incorrectly can cause system issues. Once done, restart your PC to apply the changes, ensuring that no VPN traces remain on your Windows 10 system.
How to Remove VPN Registry Entries:
- Press Windows + R, type regedit, and hit Enter.
- Navigate to:
HKEY_LOCAL_MACHINE\SYSTEM\CurrentControlSet\Services\HKEY_LOCAL_MACHINE\SOFTWARE\Microsoft\Windows\CurrentVersion\Uninstall\- Look for any VPN-related folders.
- Right-click and select Delete (only if you’re sure it’s VPN-related).
- Restart your PC.
Now, the VPN is completely removed from your system.
Bonus: Reset Your Network Settings
If you’re still experiencing network issues after following the steps in how to remove VPN from Windows 10, resetting your network settings can help. This process restores all network configurations to default, removing any lingering VPN-related changes.
To do this, go to Settings > Network & Internet > Status, then scroll down and click Network Reset. Click Reset now and restart your computer. This will remove all network adapters and reinstall them with default settings, ensuring a fresh start. After resetting, reconnect to your Wi-Fi or Ethernet, and your internet should work smoothly without any VPN interference.
How to Reset Network Settings in Windows 10:
- Open Settings > Network & Internet.
- Scroll down and click Network Reset.
- Click Reset now and restart your PC.
This will restore your network settings to default.
Conclusion
Removing a VPN from your PC doesn’t have to be complicated. By following these five simple steps, you can successfully complete the process of how to remove VPN from Windows 10 without any issues. From disconnecting and deleting the VPN profile to uninstalling the software and clearing network adapters, each step ensures a clean removal. With these methods, your system will be free of VPN-related configurations, restoring normal internet functionality and improving overall performance on your Windows 10 device.
FAQs
1. Can I remove a VPN without uninstalling the software?
Yes, you can delete the VPN configuration from Windows settings, but the software might still be on your PC. To completely remove it, uninstall the VPN software.
2.Why is my VPN still showing after I uninstall it?
Some VPNs leave behind network adapters and registry entries. Make sure to delete these manually using the steps above.
3. Will removing a VPN affect my internet connection?
Not usually. However, if you experience issues, reset your network settings to restore default configurations.