
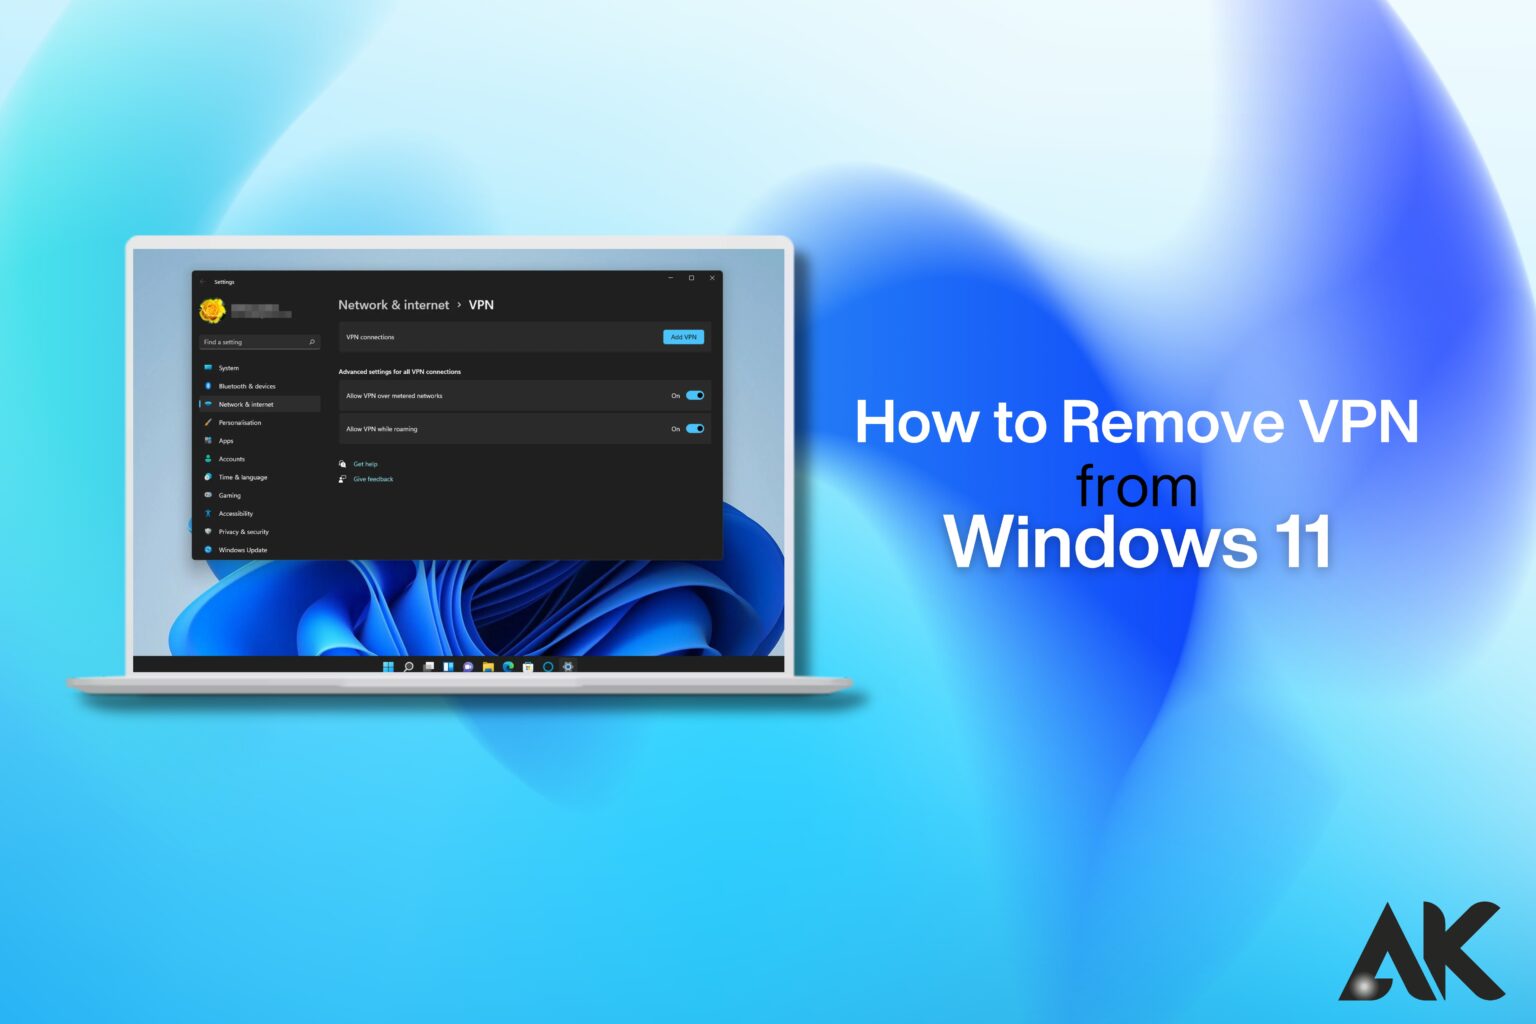
Having trouble removing a VPN from Windows 11? The good news is that it’s super easy! Whether you no longer need the VPN or it’s causing connection issues, removing it takes just a few clicks.
This guide will show you how to remove VPN from Windows 11 in three simple steps. You don’t need any technical skills—just follow the instructions, and your VPN will be gone in no time.
By the end of this blog, you’ll know exactly how to delete VPN profiles, disable connections, and ensure your device runs smoothly. Let’s get started with this quick and easy fix!
Why You Might Want to Remove a VPN from Windows 11
Before we get into the steps, here are some common reasons why users remove VPNs:
- Privacy Concerns – If you’re unsure about your VPN provider’s policies, removing it can be a safer option.
- Slow Internet Speed – Some VPNs reduce speed, causing lag in browsing or streaming.
- Connection Issues – VPNs can sometimes interfere with Wi-Fi or local networks.
- Accessing Local Services – Certain websites and apps don’t work well with VPNs.
- Switching to a New VPN – You might want to remove an old VPN before installing a new one.
How to Remove VPN from Windows 11 in 3 Easy Steps
Step 1: Disconnect and Disable the VPN
Before completely removing the VPN, you need to disconnect it from your system.
Follow these steps to disable a VPN on Windows 11:
- Click the Start Menu and go to Settings.
- Select Network & Internet from the left panel.
- Click on VPN in the right panel.
- Find your VPN connection, then click Disconnect if it’s connected.
- Toggle off Allow VPN over metered networks and Allow VPN while roaming to prevent auto-reconnection.
By doing this, you ensure that the VPN is no longer active before removing it.
Step 2: Remove the VPN Connection from Windows 11
Once the VPN is disconnected, you can proceed with removing it from your system.
Here’s how to delete a VPN connection:
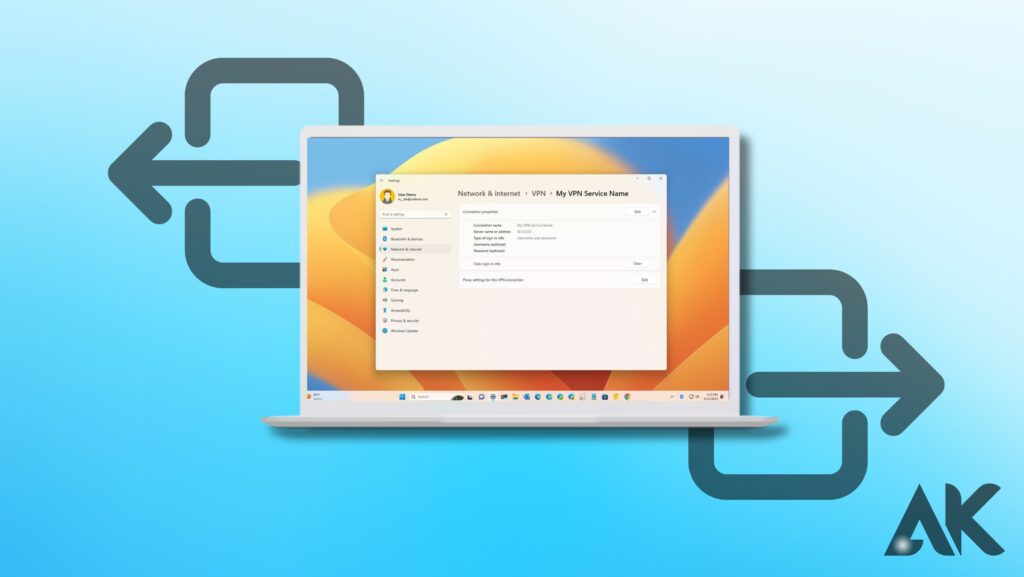
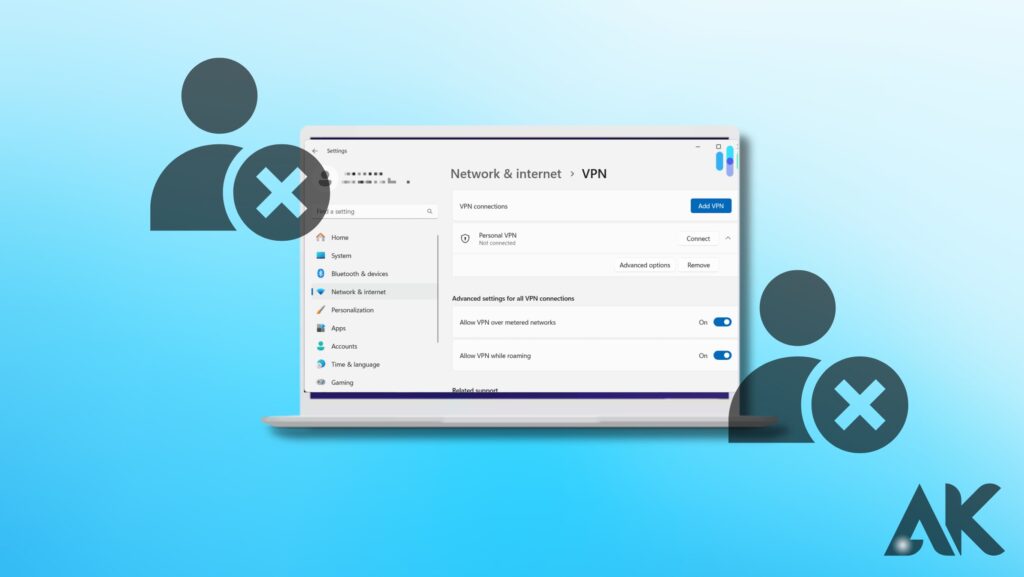
- Open Settings and go to Network & Internet > VPN.
- Find the VPN you want to remove.
- Click on it, then select Remove or Forget.
- Confirm your action when prompted.
This step removes the VPN connection, but some apps may still be installed on your device.
Step 3: Uninstall the VPN Application (If Installed)
If you installed a VPN via an app, simply removing the connection isn’t enough—you need to uninstall the app as well.
Follow these steps to uninstall the VPN app:
- Open Settings and go to Apps > Installed apps.
- Find your VPN software in the list.
- Click Uninstall and confirm.
- Restart your PC to ensure all VPN files are removed.
Once done, the VPN is completely removed from your Windows 11 system.
Alternative Method: Removing VPN via Control Panel
If you prefer using the Control Panel, follow these steps:
- Press Windows + R, type
ncpa.cpl, and hit Enter. - Find your VPN connection under Network Connections.
- Right-click on it and choose Delete.
- Confirm the removal.
This method works well for manually configured VPNs.
Troubleshooting: What If You Can’t Remove the VPN?
Sometimes, users face issues while trying to remove a VPN. Here are some troubleshooting tips:
1. Restart Your PC and Try Again
- A simple reboot can resolve many issues.
2. Remove VPN in Safe Mode
- Boot into Safe Mode and try removing the VPN from Settings or Control Panel.
3. Delete VPN Configuration Files Manually
- Navigate to
C:\Program Filesand delete leftover VPN files.
4. Use Third-Party Uninstaller
- Apps like Revo Uninstaller help remove stubborn VPN software completely.
Comparison: Removing VPN via Settings vs. Control Panel
| Method | Ease of Use | Removes VPN Connection | Removes VPN App |
| Settings | Easy | ✅ | ✅ |
| Control Panel | Moderate | ✅ | ❌ |
| Uninstaller App | Advanced | ✅ | ✅ |
If you installed a VPN through an app, using Settings is the best method. However, if you configured it manually, Control Panel works well.
Conclusion
Removing a VPN from Windows 11 is simple when you follow these three steps:
- Disconnect and disable the VPN
- Remove the VPN connection from Settings
- Uninstall the VPN app (if installed)
With these steps, you can clean up your system, restore normal internet speed, and eliminate unwanted VPN connections.
If you ever need a VPN again, you can always reinstall one. But for now, enjoy your fast and hassle-free internet connection without VPN interference!
FAQS
Q1. Can I temporarily disable a VPN instead of removing it?
A. Yes! Just go to Settings > Network & Internet > VPN, select your VPN, and click Disconnect.
Q2. Will removing a VPN affect my internet connection?
A. No, removing a VPN will not affect your internet, but it may restore your original IP address and network speed.
Q3. How do I remove a VPN that keeps reinstalling?
A. Check for leftover files in C:\Program Files and delete them. Also, disable VPN-related services in Task Manager > Startup.