
Do you want to hide your internet activities? It’s not as hard as you think to How to set up VPN on iPhone 16! A virtual private network, or VPN, conceals your IP address, safeguards your data, and enables secure network browsing.
A VPN is essential whether you’re utilizing public Wi-Fi or simply want to be extra safe. It is quick and simple to set up—no technical knowledge is required! You may enjoy private surfing and connect to a secure network in a few steps. Are you prepared to begin? Follow these easy steps to set up a VPN on your iPhone 16. Enjoy worry-free internet access while being safe!
Why You Need a VPN on iPhone 16
A VPN isn’t just for tech enthusiasts—it’s essential for anyone who values online security and privacy. Here’s why:
- Protects Your Data: Encrypts your connection to prevent hackers from stealing sensitive information.
- Secures Public Wi-Fi: Shields your data from cybercriminals when using open networks.
- Hides Your IP Address: Keeps your location private and helps bypass regional restrictions.
- Enables Anonymous Browsing: Prevents websites from tracking your activity.
- Access Blocked Content: Lets you watch geo-restricted streaming services and visit websites unavailable in your country.
Different Ways to Set Up a VPN on iPhone 16
There are three primary ways to set up a VPN on your iPhone 16:
- Using a VPN App (Easiest method)
- Manually Configuring VPN Settings
- Setting Up VPN via Third-Party Services
Each method has its own benefits, and we’ll go through them step by step.
How to Set Up VPN on iPhone 16 Using a VPN App (Recommended)
The simplest way to set up a VPN is through a trusted VPN provider’s app. Follow these steps:
Step 1: Choose a Reliable VPN Provider
Look for a VPN service with strong encryption, fast speeds, and a no-log policy. Some popular options include:
Step 2: Download and Install the VPN App
- Open the App Store on your iPhone 16.
- Search for the VPN provider’s app.
- Download and install the app.
Step 3: Sign Up or Log In
- Open the app and create an account if you don’t have one.
- If you already have an account, log in with your credentials.
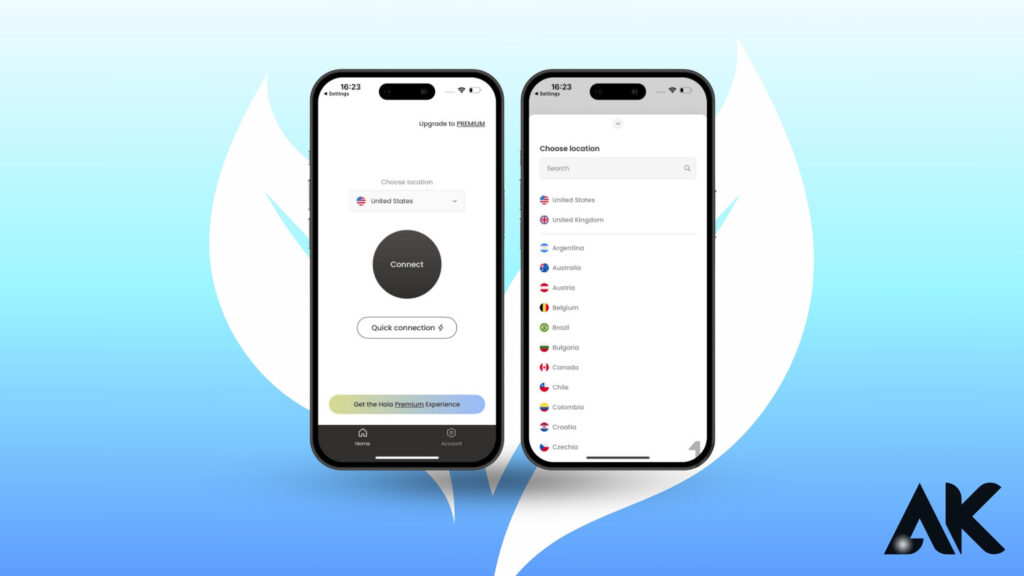
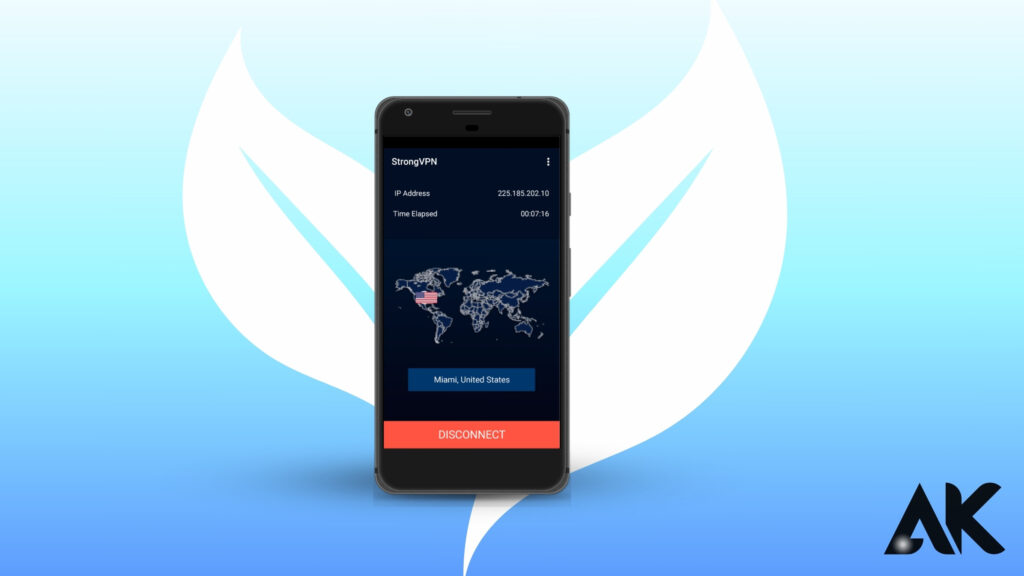
Step 4: Connect to a VPN Server
- Tap “Connect” or choose a server location.
- Your iPhone will display a VPN icon in the status bar, indicating a successful connection.
Step 5: Adjust Settings (Optional)
- Many VPNs allow you to enable auto-connect, kill switch, and split tunneling for a customized experience.
How to Manually Configure VPN on iPhone 16
If you prefer not to use an app, you can manually configure a VPN using these steps:
Step 1: Get VPN Server Details
- Obtain your VPN provider’s server address, username, and password.
Step 2: Open VPN Settings
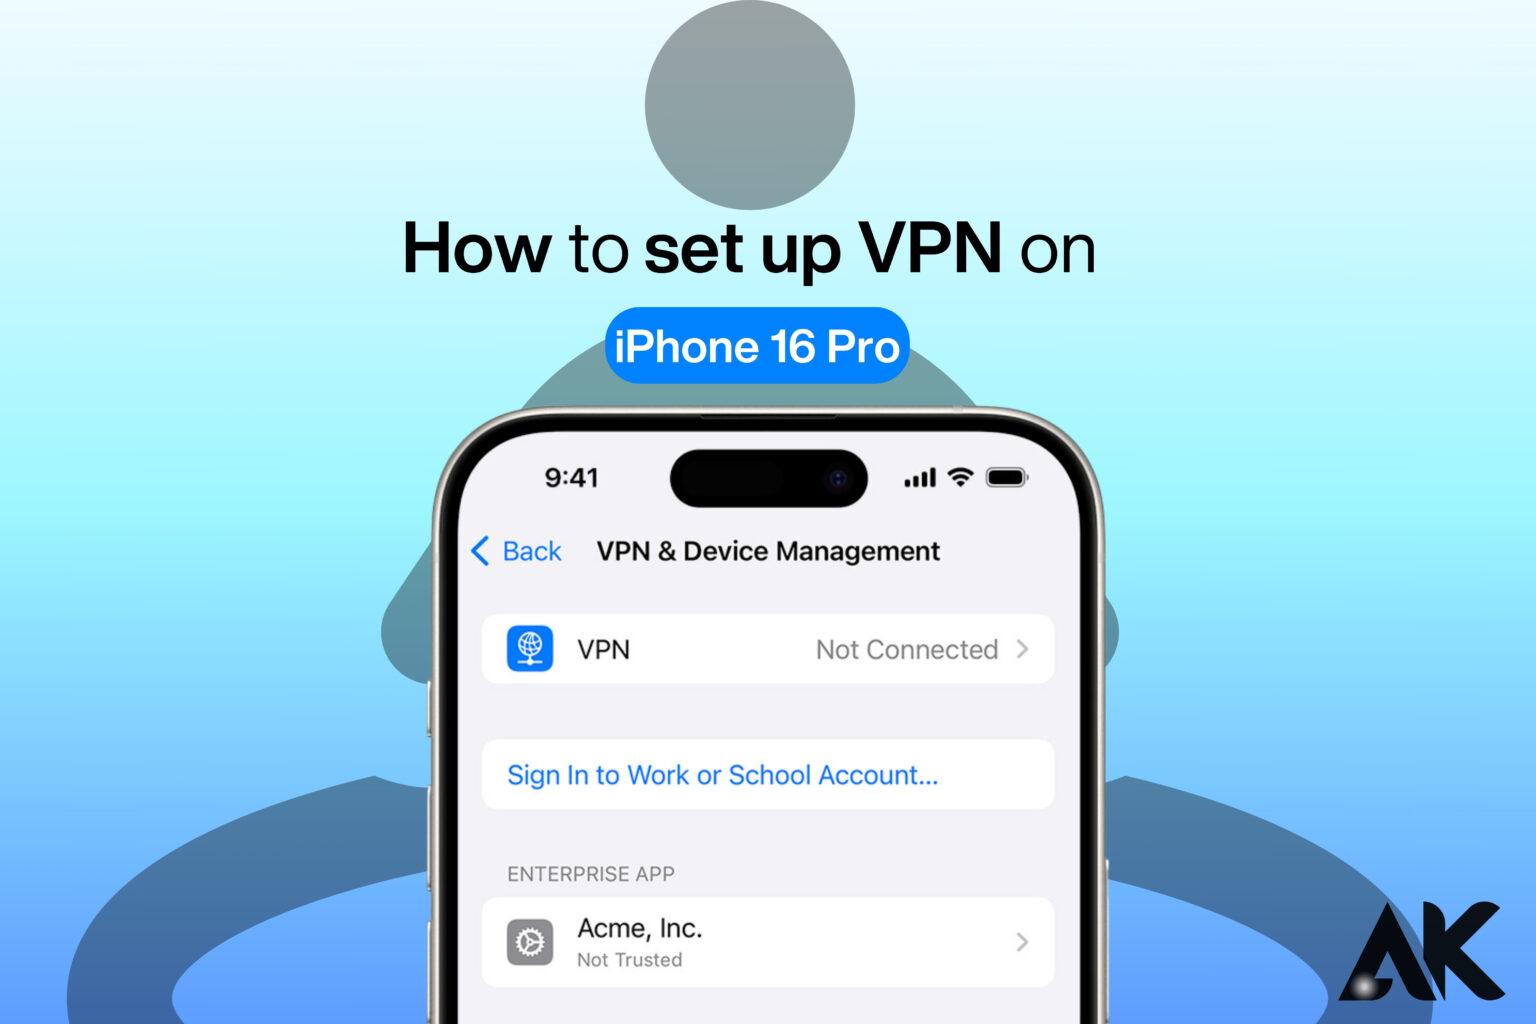
- Go to Settings > General > VPN & Device Management > VPN.
- Tap “Add VPN Configuration”.
Step 3: Enter VPN Details
- Choose the VPN type (IKEv2, L2TP/IPSec, or PPTP).
- Enter the server address, remote ID, and authentication credentials.
Step 4: Enable the VPN
- Tap “Done” and toggle the VPN switch to connect.
This method works well if you have a corporate or private VPN setup.
Setting Up a VPN via Third-Party Services (Alternative Method)
Some VPNs provide third-party configurations using OpenVPN or WireGuard. Here’s how to set them up:
- Download OpenVPN or WireGuard app from the App Store.
- Import the VPN configuration file from your VPN provider.
- Connect to the VPN server within the app.
This method is useful for users who prefer open-source security and more customization.
Comparing VPN Setup Methods
| Method | Ease of Use | Security | Customization | Recommended For |
| VPN App Setup | ⭐⭐⭐⭐⭐ | ⭐⭐⭐⭐⭐ | ⭐⭐⭐ | Beginners, quick setup |
| Manual Configuration | ⭐⭐⭐ | ⭐⭐⭐⭐⭐ | ⭐⭐⭐⭐⭐ | Advanced users, custom setup |
| Third-Party Services | ⭐⭐⭐ | ⭐⭐⭐⭐⭐ | ⭐⭐⭐⭐⭐ | Tech-savvy users, open-source VPNs |
Tips to Ensure a Secure VPN Connection
- Choose a server close to your location for better speed.
- Enable auto-connect to stay protected at all times.
- Use a no-log VPN to maintain privacy.
- Avoid free VPNs as they often collect and sell user data.
- Regularly update your VPN app for the latest security patches.
Common Issues and How to Fix Them
1. VPN Not Connecting
- Try switching to a different server.
- Restart your iPhone and reconnect.
- Ensure your internet connection is stable.
2. Slow VPN Speed
- Choose a server closer to your location.
- Disconnect and reconnect to refresh the connection.
- Use a high-speed VPN provider.
3. VPN Keeps Disconnecting
- Enable Auto-Connect in VPN settings.
- Check if your ISP is blocking VPNs.
- Try a different VPN protocol (IKEv2, OpenVPN).
Conclusion
Now you know how to set up VPN on iPhone 16 quickly and securely. Whether you use a VPN app, manual configuration, or third-party services, protecting your online activity is simple. A VPN keeps your data safe, hides your IP address, and allows you to access restricted content. Make sure to choose a reliable VPN provider for the best security and speed.
Avoid free VPNs, enable auto-connect, and keep your app updated for optimal performance. Follow this guide, and you’ll enjoy a safer browsing experience. Stay secure, stay private, and take control of your online safety today!
FAQS
Q1. How to set up VPN on iPhone 16 using an app?
A. Download a trusted VPN app from the App Store, sign in, and tap “Connect” to secure your internet connection instantly.
Q2. Can I manually configure a VPN on iPhone 16?
A. Yes! Go to Settings > General > VPN, tap “Add VPN Configuration,” enter your provider’s details, and connect.
Q3. Why should I use a VPN on my iPhone 16?
A. A VPN protects your data, hides your IP address, secures public Wi-Fi, and allows access to restricted content worldwide.