
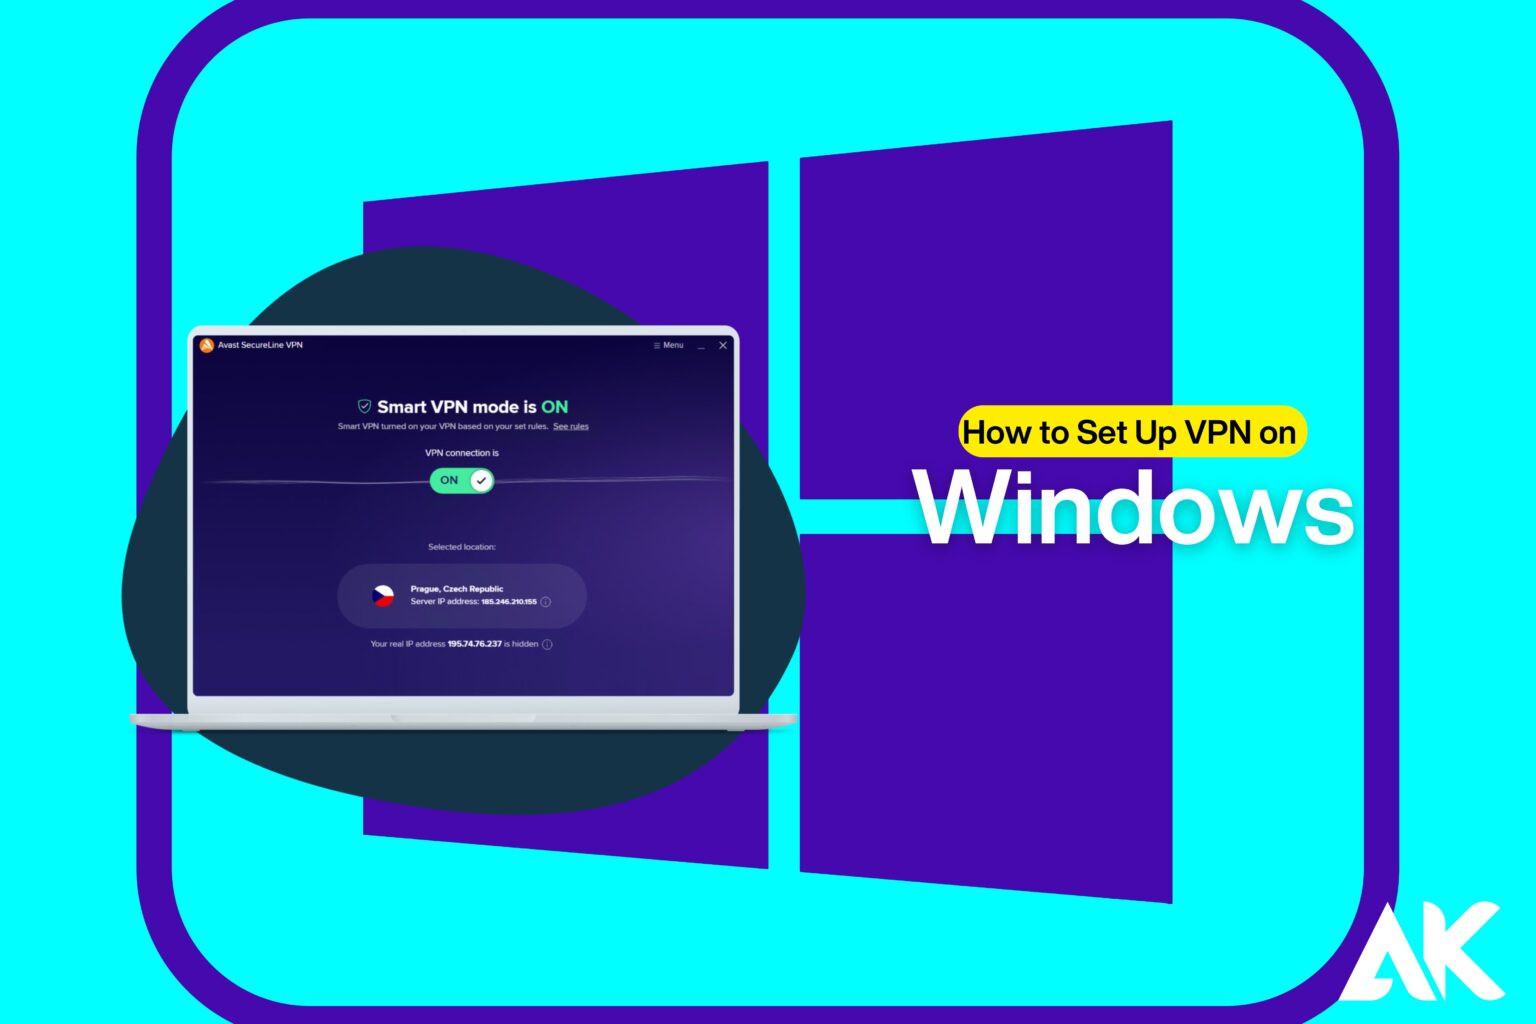
Want to browse the internet safely on your Windows PC? How to Set Up VPN on Windows is the key to protecting your online privacy. A VPN (Virtual Private Network) hides your activity and keeps your data safe from hackers, trackers, and even your internet provider.
This blog will walk you through five easy steps to set up a VPN on Windows, ensuring a secure and private connection. Whether you’re working remotely, streaming content, or just protecting your personal information, a VPN is a must-have tool. You don’t need to be tech-savvy—just follow these simple steps, and you’ll be connected in no time. Ready to secure your Windows device? Let’s dive in!
Why You Need a VPN on Windows

Using a VPN on your Windows PC offers several benefits, including:
- Online Privacy: Hide your IP address and browsing history from ISPs and hackers.
- Secure Connections: Encrypt data when using public Wi-Fi networks.
- Access Restricted Content: Bypass geo-restrictions on streaming services.
- Remote Work Security: Protect sensitive company data while working remotely.
Now, let’s dive into how to set up VPN on Windows step by step.
Step 1: Choose the Right VPN Service
Before setting up a VPN, you need to pick a reliable service. There are two options:
1.1 Free vs Paid VPNs
| Feature | Free VPN | Paid VPN |
| Speed | Slow | Fast |
| Security | Basic encryption | Strong encryption |
| Data Limit | Restricted | Unlimited |
| Streaming Access | Limited | Works with Netflix, Hulu, etc. |
For the best security and performance, we recommend premium VPNs like NordVPN, ExpressVPN, or Surfshark.
1.2 Download & Install the VPN
- Visit the official website of your chosen VPN.
- Download the Windows app.
- Run the installer and follow on-screen instructions.
Step 2: Configure VPN Using Windows Built-in Option

If you don’t want to install third-party software, Windows has a built-in VPN client. Here’s how to set it up:
2.1 Get VPN Credentials
- Sign up for a VPN service that supports manual setup (e.g., OpenVPN or L2TP).
- Retrieve the VPN server address, username, and password.
2.2 Set Up a VPN Connection in Windows
- Open Settings > Network & Internet > VPN.
- Click Add a VPN Connection.
- Enter the details provided by your VPN provider.
- Click Save and select your newly created VPN profile.
- Click Connect to start using the VPN.
Step 3: Connect to a VPN Server
Once you have a VPN installed or manually configured, follow these steps to connect:
- Open your VPN application or Windows VPN settings.
- Choose a server location (e.g., U.S. for Netflix, U.K. for BBC iPlayer).
- Click Connect and wait for the confirmation message.
- Once connected, your internet traffic is encrypted and routed through the VPN server.
3.1 Choosing the Best Server
- For Privacy: Select a no-log policy country (e.g., Switzerland).
- For Speed: Choose a server close to your location.
- For Streaming: Pick a region where content is available.
Step 4: Test Your VPN Connection
After connecting, ensure your VPN is working properly.
4.1 Check Your IP Address
- Go to whatismyipaddress.com.
- If the displayed IP is different from your actual one, your VPN is working.
4.2 Perform a DNS Leak Test
- Visit dnsleaktest.com.
- Run the test to confirm your DNS requests are being routed through the VPN.
4.3 Speed Test Your Connection
- Use speedtest.net to check download/upload speeds.
- If speeds are significantly slower, try switching servers.
Step 5: Optimize and Troubleshoot VPN Performance
To get the best experience, optimize your VPN settings and troubleshoot any issues.
5.1 Enable Kill Switch
Most VPNs have a Kill Switch feature that automatically disconnects your internet if the VPN drops. Enable this option for extra security.
5.2 Change Protocols
If your VPN is slow or unstable, try switching protocols:
- OpenVPN: Best balance of speed and security.
- WireGuard: Faster and more modern.
- IKEv2/IPSec: Good for mobile and stable connections.
5.3 Fix Common Issues
- VPN not connecting? Restart your PC and try again.
- Slow speeds? Change to a different server.
- Blocked websites? Use a different VPN protocol or enable Obfuscated Servers in settings.
Conclusion
Setting up a VPN on Windows is simple and offers multiple benefits, from enhanced security to unrestricted content access. By following these five easy steps, you can protect your data, browse safely, and enjoy a private internet experience.
Whether you choose a third-party VPN app or Windows’ built-in VPN feature, ensuring a stable connection and testing for leaks is essential. Now that you know how to set up VPN on Windows, take the next step and secure your digital world today!
FAQs
Q1. Is using a VPN legal?
A. Yes, using a VPN is legal in most countries, but some nations restrict or ban VPN usage. Always check local laws.
Q2. Can I use a free VPN for Windows?
A. Yes, but free VPNs often have slow speeds, limited security, and data caps. A paid VPN is a better option.
Q3. Will a VPN slow down my internet?
A. A VPN may slightly reduce speed due to encryption, but a high-quality VPN minimizes this impact.