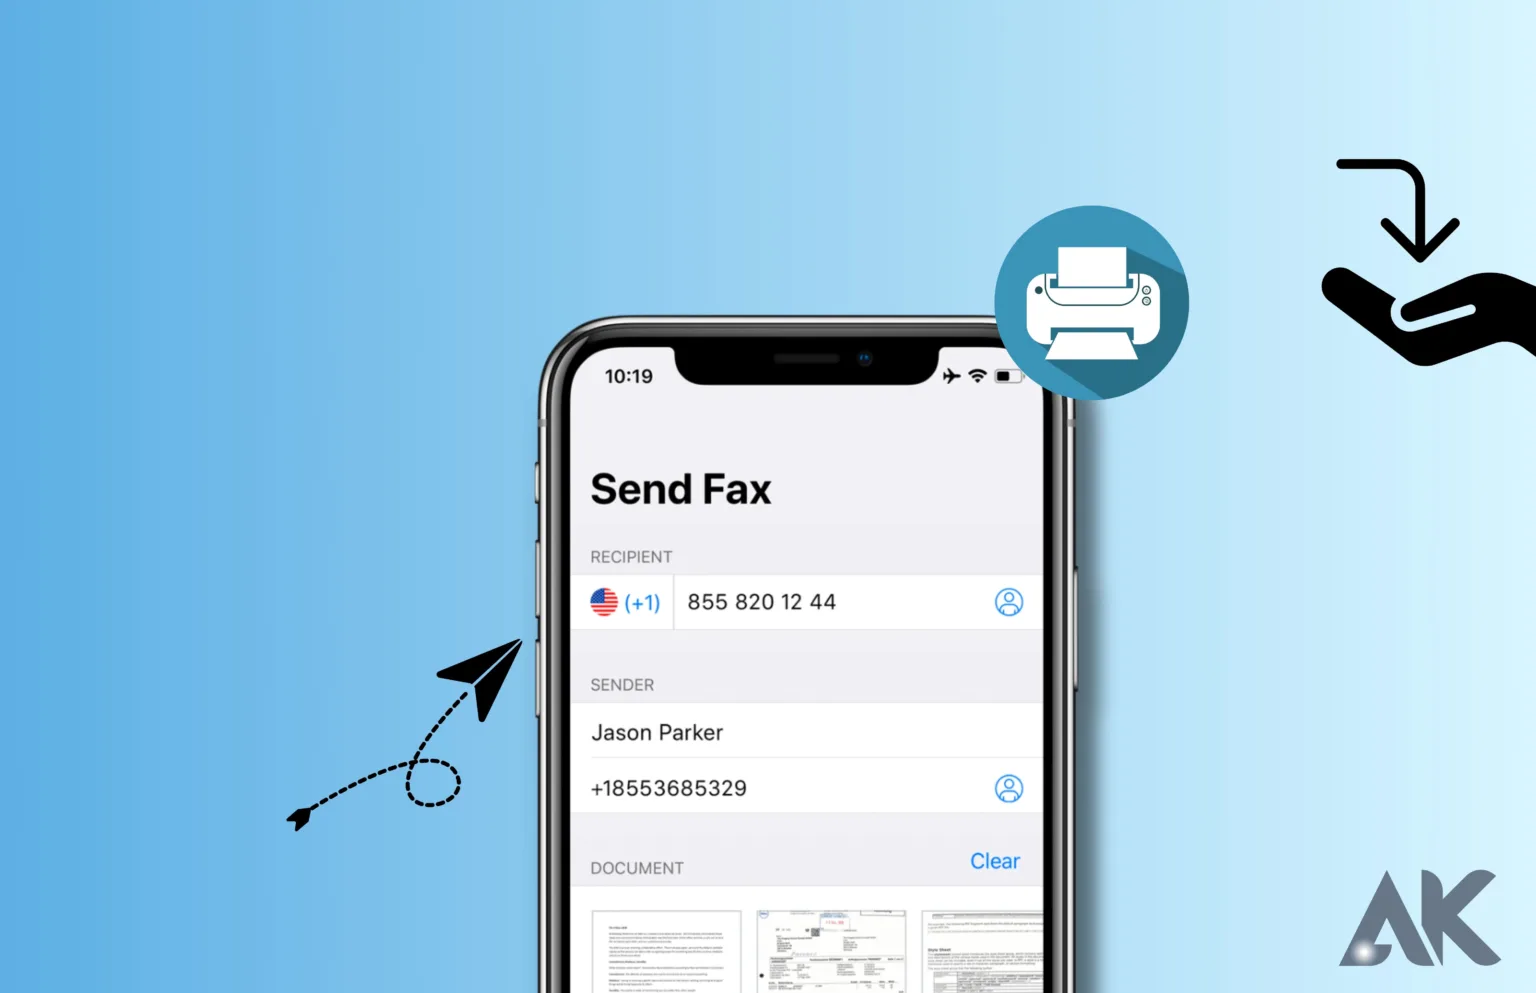
Do you want to learn how to get a fax on iPhone? Despite the digitalization of communication, faxing remains an essential component in various sectors. Therefore, knowing how to do it right from your device is convenient for both corporate users and individuals alike. With this comprehensive guide, we will help you quickly set up the process and receive faxes safely on your iPhone! Let us start!
Introduction
With the advancement of technology, you no longer have to use a traditional fax machine to send or receive faxes due to the significant evolution of faxing over the years. We will focus on how to receive fax on iPhone in this article. Smartphones, such as the iPhone, have made it convenient to handle faxing tasks conveniently on the go.
Understanding Faxing in the Digital Age
Despite the rise of email and other digital communication methods, faxing remains an effective way to send and receive important documents. Legal, healthcare, and finance industries continue to rely on faxing as a reliable method of transmission. It is a secure and lawful way of transmitting sensitive data.
Setting Up the Fax App on Your iPhone
To set up a fax app on iPhone, follow these steps:
- The fax app can be downloaded from the App Store.
- Create an account by opening the app.
- Give the relevant details, including your full name, e-mail address, and cellphone number.
- In some apps, you can choose a local or toll-free fax number.
- Verify your account via email or SMS to complete the setup process.
Receiving a Fax on Your iPhone
Once your fax app is set up, follow these steps to receive a fax on iPhone:
- On your iPhone, open the fax app.
- Go to the inbox or received faxes section.
- To check for new faxes, look for a new fax notification or refresh the page.
- Open and view the fax by tapping it.
- The fax can be zoomed in, scrolled, or rotated to make it easier to read.
- You can save the fax to your iPhone’s storage or share it.
Managing and Organizing Your Received Faxes
Most fax apps offer features to help you manage your received faxes efficiently. Here are some tips for managing your received faxes efficiently:
You can categorize your faxes based on their content or importance by creating folders or labels.
You can search for specific faxes by keywords or sender information using the search functionality.
To declutter your inbox, archive or delete no longer needed faxes.
Troubleshooting Common Issues
Although receiving fax on iPhone is generally a smooth process, you may encounter occasional issues. Here are some common problems and their possible fixes:
Poor image quality: Make sure the sender is using a high-resolution fax machine or scanner.
Check your internet connection during the fax reception to ensure stability.
Make sure your fax app supports the file format of the received fax.
Contact the support team of your chosen fax app if you continue to experience issues.
Conclusion
You can effortlessly handle your faxing needs directly from your iPhone by following the steps outlined in this guide. You can now easily receive faxes on your iPhone. Say goodbye to the limitations of traditional fax machines and embrace the convenience and flexibility of digital faxing. Start receiving faxes on your iPhone today and get a more efficient faxing experience.
FAQs
1. Can I receive faxes on my iPhone for free?
Most reliable fax apps require a subscription or pay-per-use pricing, although some offer free trials.
2. Can I receive faxes on my iPhone without a fax number?
You need a fax number to receive faxes on your iPhone. Fax apps usually allow you to choose a local or toll-free number.
3. Is it secure to receive faxes on my iPhone?
To ensure the confidentiality of your received faxes, fax apps use encryption and other security measures.
4. Can I receive faxes on multiple devices simultaneously?
Your iPhone and iPad may be able to receive faxes depending on the fax app you choose.
5. Can I forward receive faxes to others from my iPhone?
You can forward received faxes directly from your iPhone using most fax apps’ sharing or forwarding features.
Remove Time Limit On IPhone

