
VisionOS 1.3 installation Even though installing VisionOS 1.3 on your smartphone can seem challenging, if you follow this tutorial, you can do it easily. To better serve you, exciting new features and improvements have been added to VisionOS 1.3. Whether this is your first update or not, if you follow these steps, the installation process will go more smoothly. We’ll begin by configuring your device, which entails data backup and compatibility checks. After that, you’ll see how to install VisionOS 1.3 and get instructions on what to do if you run into any issues. When it’s finished, VisionOS 1.3 will be functional and accessible for you to use with all of its functionalities.
How to Install VisionOS 1.3: A Step-by-Step Guide
Before starting to install VisionOS 1.3, make sure your device meets the minimum system requirements and is connected to a dependable Wi-Fi network. Make a backup of your files before beginning the installation process to avoid any possible data loss. Open the Settings menu on your device and select “Software Update” from the “System” option. This should give you the option to check for updates.
If VisionOS 1.3 is ready, a notification will appear on your screen requesting that you download and install it. The relevant files will start to download by the time you indicate that you want to proceed with the upgrade. Make sure you have a stable internet connection and that your device is powered on to prevent any interruptions during the download process.
Upon completion of the download, the installation process will initiate automatically. Your device will display a progress bar indicating the installation’s current status following the reboot. This process may take several minutes, so please be patient and do not interrupt it.
After the installation is finished, your device will restart, and you may need to go through a setup process to configure the new features that VisionOS 1.3 has to offer. To ensure the update was installed correctly, check the system version via the Settings menu. If you need any extra assistance, consult the support manuals or contact customer care.
Preparing for the VisionOS 1.3 installation
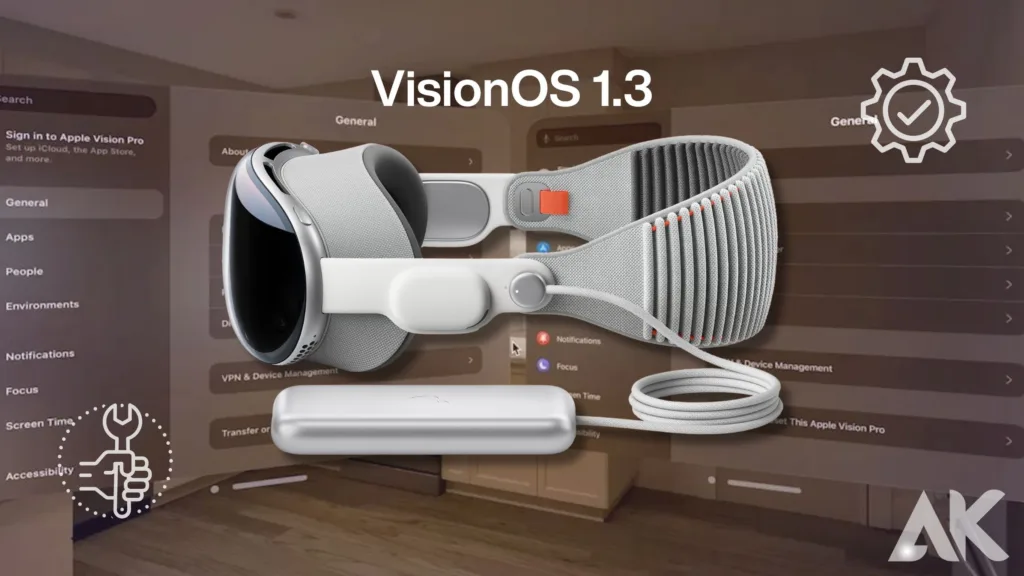
VisionOS 1.3 installation Before you begin the VisionOS 1.3 installation make sure your device is compatible. Go to the VisionOS website to get a list of compatible devices. Make a data backup after that. This crucial step prevents data loss during installation. Use an external drive or iCloud to store important configurations, documents, and photographs. Verify that your device has enough storage space to accommodate the new operating system. It could be required to delete certain unused files or programs to make room.
Before installing VisionOS 1.3, make sure your smartphone is fully charged. This is another important step. The installation could take some time to finish, and you don’t want your device to die in the meantime. Connect your device to a solid Wi-Fi network because the installation file is usually large and a steady internet connection will avoid any interruptions.
Downloading VisionOS 1.3
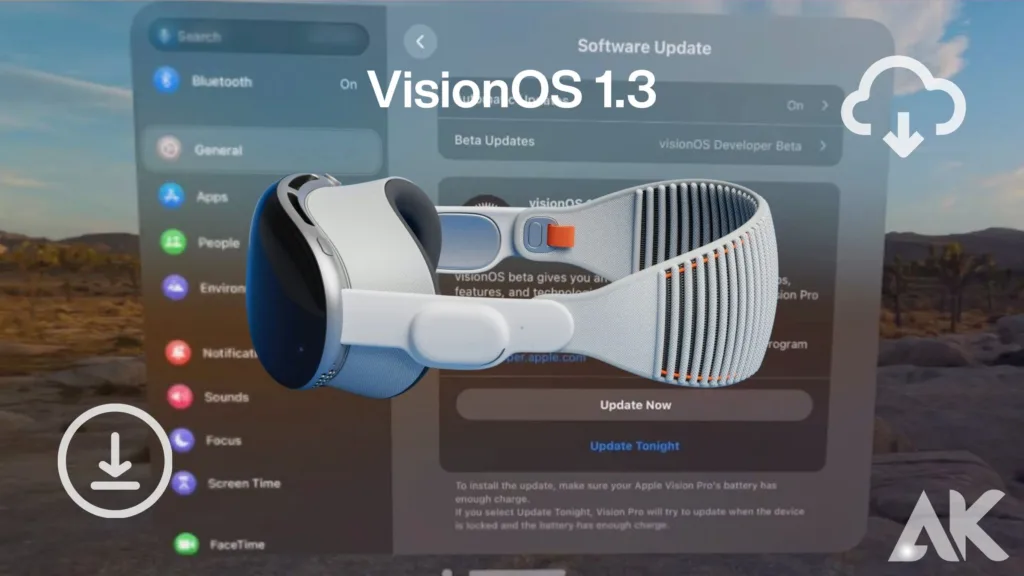
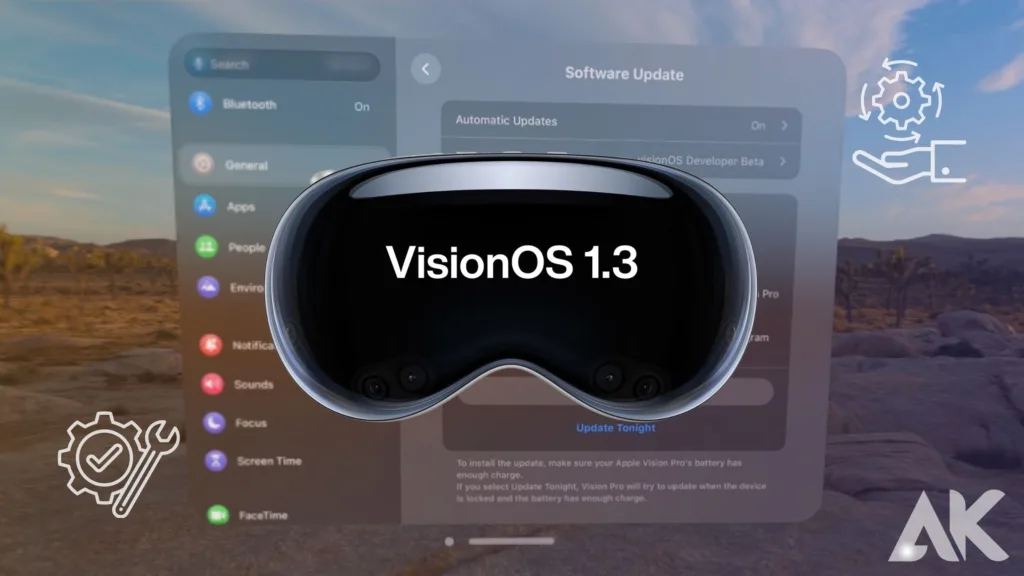
When your device is ready, you can begin downloading VisionOS 1.3. Navigate to General in the Settings app on your device to access the software update. From this page, you can download VisionOS 1.3. Proceed and choose “Download and Install.” Your device’s passcode may need to be entered. This must be done to verify your identity and begin the download procedure.
The time it takes to download VisionOS 1.3 will depend on your internet speed. Please be patient and don’t use your smartphone for anything else while the download is underway. Consider moving closer to your router or joining a faster network if you’re experiencing problems connecting to the internet.
Installing VisionOS 1.3
After the download is complete, VisionOS 1.3 will launch an automatic installation process. The Apple logo and a progress bar indicating the installation status will show up when your device restarts. Please make sure your device is powered on during the installation process to avoid any interruptions.
It can take several minutes to complete the VisionOS 1.3 installation During this time, your device can restart itself multiple times. This is a standard procedure that must be followed during installation. Do not try to restart your device or mess with the process.
Post-Installation Setup
After installing VisionOS 1.3, the device will restart and display the setup screen. .. To finish the setup, adhere to the directions displayed on the screen. It may be necessary for you to configure privacy settings, location services, and Wi-Fi in addition to changing your Apple ID and password.
After configuring your device, you can investigate the enhancements and new features that VisionOS 1.3 has to offer. Take some time to familiarize yourself with the updated interface and options. If you encounter any issues, visit the VisionOS help page for troubleshooting tips.
Common Installation Issues
Not every VisionOS 1.3 installation will proceed as expected. Make sure your internet connection is steady before attempting the download again if it isn’t working. Force restart your device and try the installation again if it becomes stuck during the installation process. You might have to do a factory reset if the problems persist, but make sure to back up your important data first.
Rarely, the VisionOS 1.3 update may not be recognized by your device. Device incompatibility or regional restrictions may be the cause of this. Keep an eye on the official VisionOS forums for any updates or details on known problems with the update.
Benefits of VisionOS 1.3
Putting in VisionOS 1.3 has a lot of advantages. This update includes new enhancements that improve the user experience, extend battery life, and increase device performance. Your data is protected by security updates, and the user interface has been made easier to use.
Along with these new features, VisionOS 1.3 also offers enhanced multitasking, sophisticated privacy settings, and seamless networking with other Apple devices. These improvements improve the overall user experience by making using your smartphone more effective and enjoyable.
Conclusion
VisionOS 1.3 installation It will be easy to install VisionOS 1.3 on your smartphone if you adhere to the advice in this post. To avoid any data loss, make sure your device is prepared by checking that it is compatible, correctly charged, and backed up. If you download the update from the Settings app and have a reliable internet connection, it will download faster. Keep your device plugged in throughout the installation process to prevent disruptions.
When the installation is finished, configure VisionOS 1.3 by following the on-screen directions. Take some time to look around and enjoy the new additions and improvements. The offered troubleshooting suggestions should assist you in resolving any issues that may arise. After you update to VisionOS 1.3, your smartphone will perform better, offer more features, and have improved security.
FAQ
Q1: Can I use VisionOS 1.3 on my device?
Many Apple products are compatible with VisionOS 1.3. To ensure that your device is capable of running the latest operating system, check the list of compatible devices on the official VisionOS website.
Q2: How can I backup my data before downloading VisionOS 1.3?
A: To backup your data, you can use iCloud or an external disk. To make use of iCloud backup, go to Settings > [Your Name] > iCloud > iCloud Backup, then click “Back Up Now.” Use iTunes to connect your device to a computer so you may create a backup of your external disk.
Q3: What is the required amount of storage space for VisionOS 1.3?
VisionOS 1.3 requires a large amount of storage to operate. Make sure you have a minimum of 5GB of free space. It could be necessary for you to remove unnecessary files or applications in order to make space.
Q4: What should I do if it’s taking a while for VisionOS 1.3 to download?
A: Slow downloads may be the result of unreliable internet connections.. If you can, try resetting your WiFi router, relocating closer to it, or joining a faster network.
Q5: I had a stuck device during installation. What actions ought I to do next?
A force restart might be useful if your device becomes stuck during the installation process. You might have to restart your device’s installation if the problem continues.