
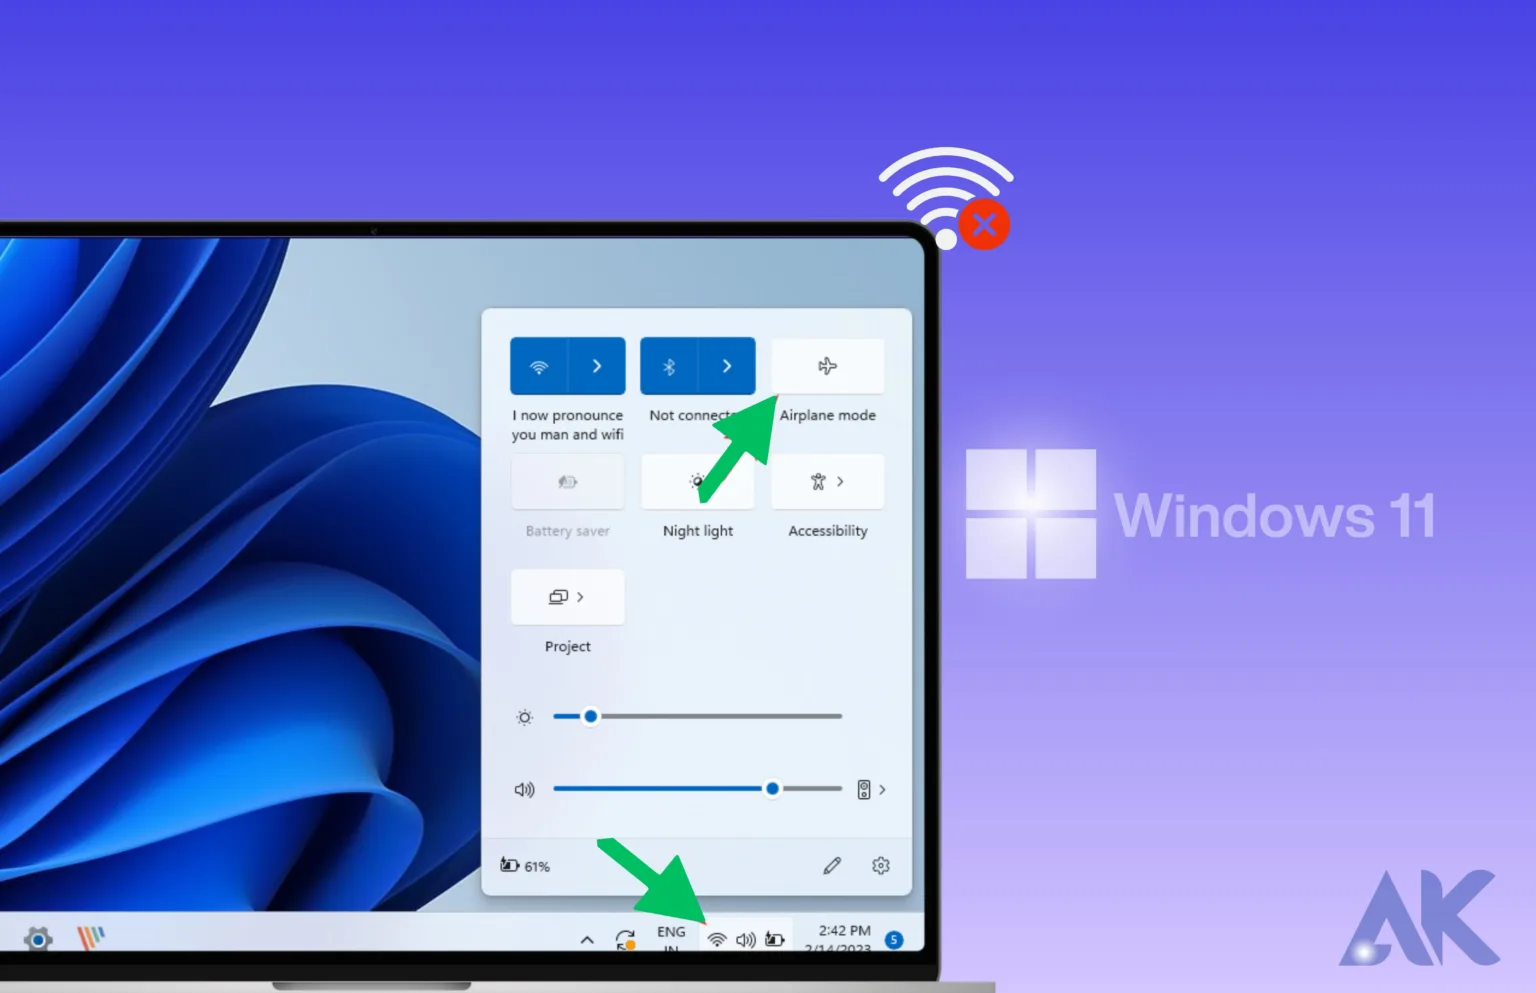
Troubleshooting Windows 11 wifi not connecting? Got you covered! You have company. This is a common problem, but there is some good news: most people can remedy it. Resolving WiFi issues on Windows 11 is easy with the help of this article. Here are a few simple things you may try: checking your WiFi settings, restarting your router, and more. You don’t need any prior experience or expertise with computers to implement these suggestions. After reading this, you will be experienced in fixing WiFi issues and regaining internet access quickly.
Restarting Your WiFi Router
If you’re experiencing temporary network issues, try restarting your router.
- Step 1: To turn off your router, either press the power button or remove the plug.
- Step 2: Make sure the router completely resets by waiting at least 60 seconds.
- Step 3: Reconnect or power on the router.
- Step 4: Please be quiet while the WiFi router finishes booting up. To make sure everything is working as it should, check the lights.
- Step 5: You may check the WiFi connection on your Windows 11 device by reconnecting it to the network.
Updating Your WiFi Driver
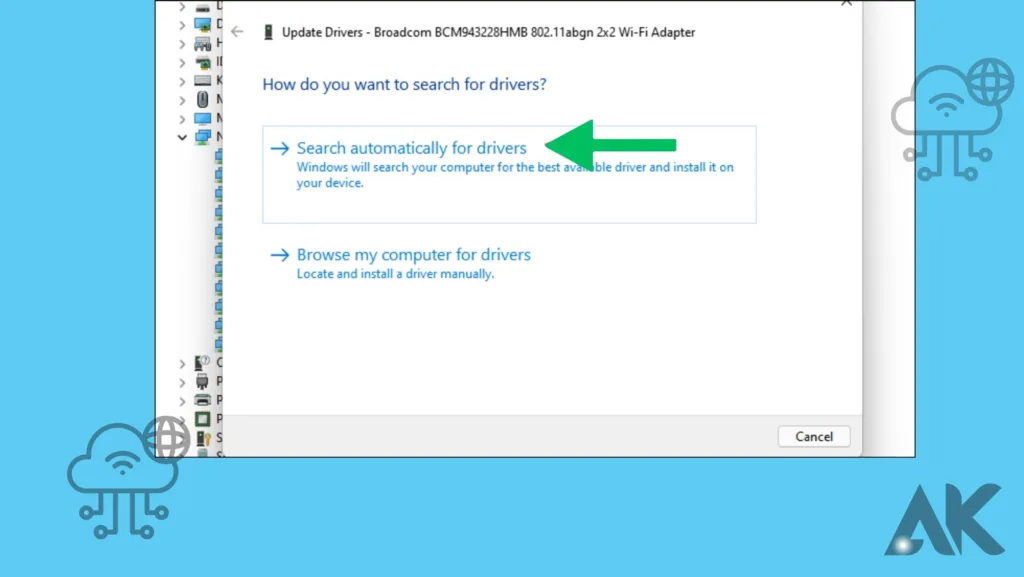
Connection issues might occur if the WiFi driver is either old or faulty.
- Step 1: To access Device Manager on Windows, just type “Device Manager” into the search box.
- Step 2: Locate “Network adapters” and enhance the inventory.
- Step 3: ‘Update driver’ should be the option you see when you right-click on your WiFi device.
- Step 4: To have the most recent driver software automatically searched for, choose so. Proceed as directed to install any available updates.
- Step 5: You may verify that the updated driver settings have been implemented by restarting your computer.
Using Windows 11 Network Troubleshooter
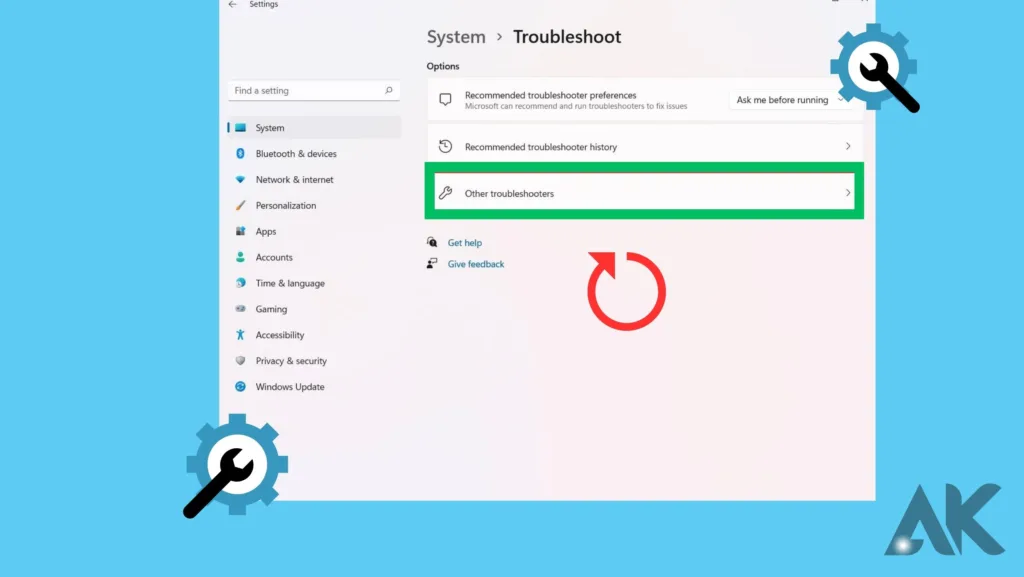
An automated tool for detecting and fixing network problems is included in Windows 11.
- Step 1: Find the “Additional troubleshooters” option in the “Update & Security” section of the iOS settings menu.
- Step 2: To run the troubleshooter, click “Internet Connections” and click on the same thing.
- Step 3: Continue to the on-screen instructions. If issues are detected, the troubleshooter will try to resolve them.
- Step 4: Once an issue has been resolved, you may verify the connection by reconnecting to your WiFi.
Resetting Your Network Settings
When problems arise as a result of faulty or erroneous network setups, resetting the network settings might fix them.
- Step 1: Locate Network & Internet > Status in the Settings menu.
- Step 2: Find the “Network reset” option and click on it.
- Step 3: To reset, click “Reset now” and then confirm. Removing and reinstalling network adapters and restoring default settings for other networking components is what this will do.
- Step 4: When the reset is finished, your computer will turn back on. Join your WiFi network again when the device has restarted.
Ensuring Windows 11 is Up-to-Date
Updating Windows 11 guarantees that you have access to the most recent fixes and enhancements made by Microsoft.
- Step 1: Navigate to Update & Security in the Settings menu.
- Step 2: Click the “Check for updates” button. Please download and install any available updates.
- Step 3: Restarting your computer is necessary to finish installing the updates.
Temporarily Disabling VPN and Antivirus
Virtual private networks (VPNs) and antivirus software might sometimes restrict your network connection.
- Step 1: For the time being, stop your VPN client from connecting to any servers.
- Step 2: From the main menu of your antivirus program, you may disable it.
- Step 3: Retry connecting to your WiFi hotspot. Once you’ve accomplished that, turn your VPN and antivirus back on and see if it helps with any compatibility issues.
Switching WiFi Bands
If you’re having trouble connecting, try switching between the 2.4GHz and 5GHz WiFi frequencies.
- Step 1: Use a web browser to access the router’s setup page.
- Step 2: Find the band selection option in the wifi settings.
- Step 3: Go to the opposite frequency band; you may choose between 2.4GHz and 5GHz. Restore the defaults.
- Step 4: Reconnect your Windows 11 device to the network after disabling it. Make sure it’s working.
Forgetting and Reconnecting to Your Network
If you’re having trouble connecting, try erasing the network settings from your device.
- Step 1: Click on the Settings > Network & Internet > WiFi.
- Step 2: Choose ‘Manage known networks’.
- Step 3: Go to your network, choose it, and then hit the “Forget” button.
- Step 4: Find other WiFi networks and join them once you’ve forgotten yours. To see whether the problem still exists, enter the password.
Checking for Interference Issues
When other devices interfere, it might lead to WiFi issues.
- Step 1: Find anything that may be interfering, such as nearby WiFi networks, Bluetooth devices, or microwaves.
- Step 2: Either temporarily disable the offending devices or relocate your router away from them.
- Step 3: To locate a less crowded WiFi channel, you may change it in the router’s settings.
- Step 4: Get your Windows 11 device back online and see whether it works.
Restoring Windows 11
If all else fails, you may try restoring Windows to an earlier version.
- Step 1: Navigate to Update & Security > Recovery in the Settings menu.
- Step 2: Select “Get started” from the “Reset this PC” menu, and then decide whether to erase all data or save it.
- Step 3: Press the Reset Windows 11 button when a message appears. You have the option to retain or delete your files throughout the Windows reinstallation process.
- Step 4: After the reset, go ahead and test the WiFi and set up your network connection.
Also Read: Speed Demon: How Firefox 121 Blazes Past the Competition
Conclusion
Sometimes, all it takes to fix the “Windows 11 wifi not connecting” problem are a few easy actions. These easy and effective solutions include upgrading your WiFi driver, restarting your router, or using the built-in troubleshooter. Restoring your connection is as easy as being calm and carefully following these instructions. You will learn important troubleshooting skills and be able to reconnect your device by following the instructions given for this frequent issue. With a little effort and patience, keeping your Windows 11 device’s WiFi connection consistent may be easy.
FAQs
Why is my Windows 11 not connecting to Wi-Fi?
Windows 11 WiFi issues could be caused by outdated or damaged network drivers. Try installing the most recent version of your network drivers to see if it helps. The drivers may be automatically updated using third-party software like Driver Booster or downloaded from the manufacturer’s website.
How do I force Windows 11 to connect to Wi-Fi?
To access a list of accessible networks, go to the notification area and find the Network symbol. Next to the Wi-Fi quick setting, you should notice the > icon. After you’ve chosen which network to join, click the Connect button.
How do I enable Wi-Fi on my computer?
Go to the Settings menu by clicking the Windows icon (Start). Go to the Network & Internet option. Choose Wi-Fi. Press the Wi-Fi button to activate it, and a list of networks will appear.